There’s something about cotton candy that just brings out the kid in all of us, isn’t there? The colorful swirls, the sweet aroma, and that feeling of holding something so fun in your hands – it’s pure happiness. But as much as we all adore it, cotton candy doesn’t stick around for long. That’s where cotton candy ice cream comes in. It captures everything you love about those soft, fluffy clouds and tucks it into a creamy treat you can scoop, share, and enjoy whenever you want.
In this recipe, I’ll show you exactly how to make it from scratch – using simple ingredients, no fancy equipment, and a whole lot of love. We’ll walk through the easy steps, tips to make it extra special, and fun ways to serve it that will make any day feel like a celebration.
Why You’ll Love This Cotton Candy Ice Cream Recipe
There’s something so special about a scoop of cotton candy ice cream that feels like pure celebration. This recipe is easy enough to make with your kids on a weekend afternoon, yet pretty enough to serve at a birthday or baby shower.
- Quick to prepare: No fancy equipment or complicated steps required.
- Family friendly: Everyone will love the bright swirls and sweet cotton candy flavor.
- Customizable colors: You can tint the ice cream to match any theme or occasion.
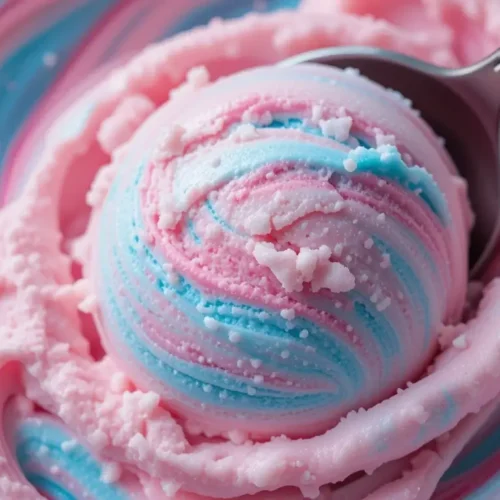
- Perfect texture: Soft, creamy, and smooth straight from the freezer.
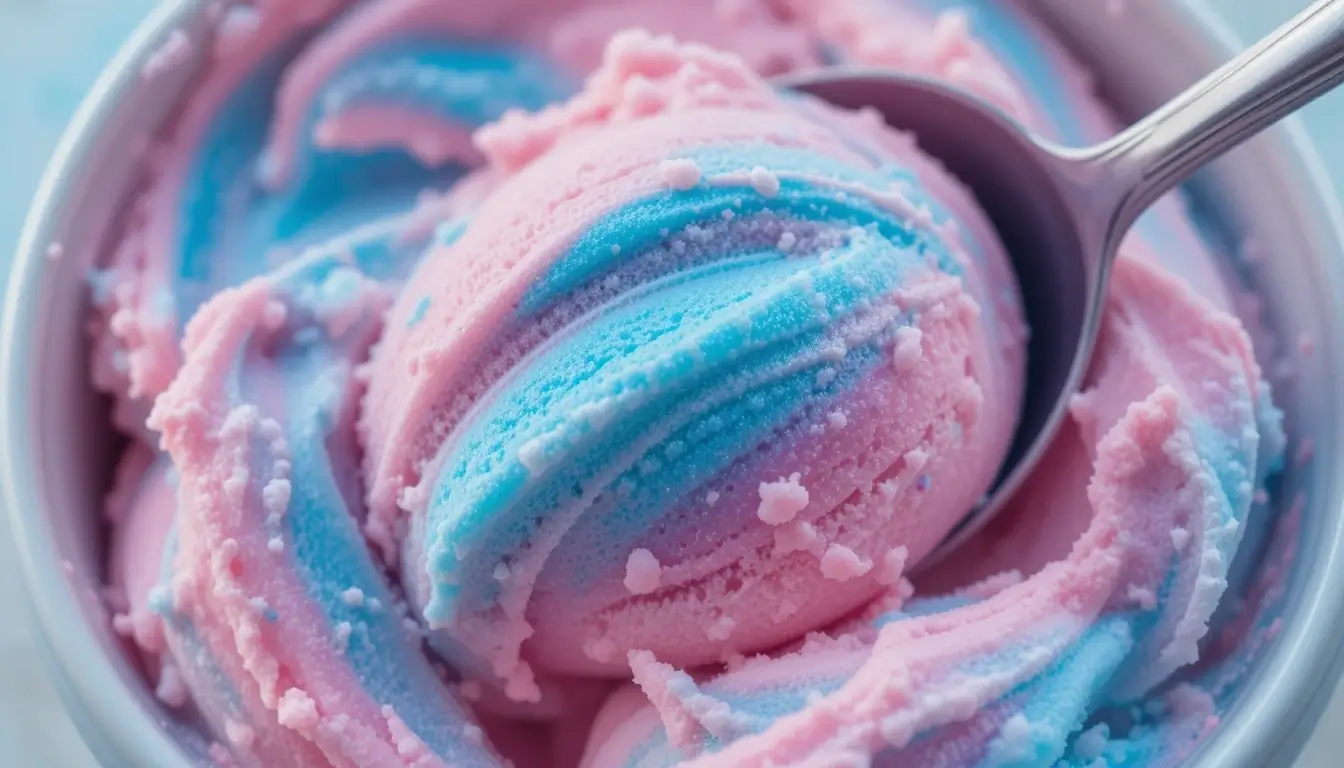
Once you see those pink and blue swirls coming together, you’ll be hooked. Let’s gather what you need to get started!

Simple Ingredients for Homemade Cotton Candy Ice Cream
Before we dive into swirling pastel colors, let’s gather everything you need to make your very own cotton candy ice cream. The ingredient list is short, simple, and packed with fun!
Basic Ingredients:
- 2 cups heavy cream – This is what gives your ice cream its smooth, creamy texture. Cold cream whips up best, so keep it chilled until you’re ready.
- 1 can (14 oz) sweetened condensed milk – Adds sweetness and that lovely, rich mouthfeel without needing an ice cream machine.
- ½ teaspoon cotton candy flavoring – Just a little goes a long way to capture that nostalgic fairground taste.
- 1 drop pink gel food coloring – For those soft cotton-candy pink swirls.
- 1 drop blue gel food coloring – Brings in that classic sky-blue touch for a true cotton candy ice cream aesthetic.
- A pinch of fine sea salt – Balances the sweetness and rounds out the flavor beautifully.
Optional Add-Ins:
- Mini rainbow sprinkles – Stir in for a little extra fun and color.
- Crumbled sugar cones – Add a bit of crunch that plays perfectly with the creamy scoops.
Pro Tip:
Want to make a colorful twist for different parties? Swap pink and blue for lavender and mint green for a pastel garden party vibe, or go bold with orange and teal for a fun birthday bash. Just a drop or two of gel color can totally change the mood!
Now that everything’s lined up on the counter, let’s roll up our sleeves and create some magic with these ingredients!
How to Make Cotton Candy Ice Cream Step-by-Step
This cotton candy ice cream recipe is all about keeping it simple, colorful, and full of smiles. Here’s exactly how to pull it all together, step-by-step:
1- Chill your tools:
Pop your mixing bowl and beaters into the fridge for about 15–20 minutes. Cold tools help the cream whip up quicker and fluffier.
2- Whip the heavy cream:
Add the chilled heavy cream to your cold mixing bowl to get things started. Beat on medium speed until soft peaks form – you’re looking for waves that hold their shape but still look gentle and billowy.
3- Mix the base:
In a separate bowl, whisk together the sweetened condensed milk, cotton candy flavoring, and a pinch of sea salt. Stir until smooth and glossy. This mixture will be the sweet base that gives your cotton candy ice cream its signature flavor.
4- Fold it all together:
With a spatula, carefully fold the whipped cream into the sweet base, keeping those soft, airy peaks intact. Take your time and use light strokes – you want to keep as much air in the mixture as possible for that dreamy, scoopable texture.
5- Divide and color:
Split the ice cream base evenly into two bowls. Add a drop of pink coloring to one bowl and a drop of blue to the other. Stir gently until the colors are evenly blended. Be careful not to overmix!
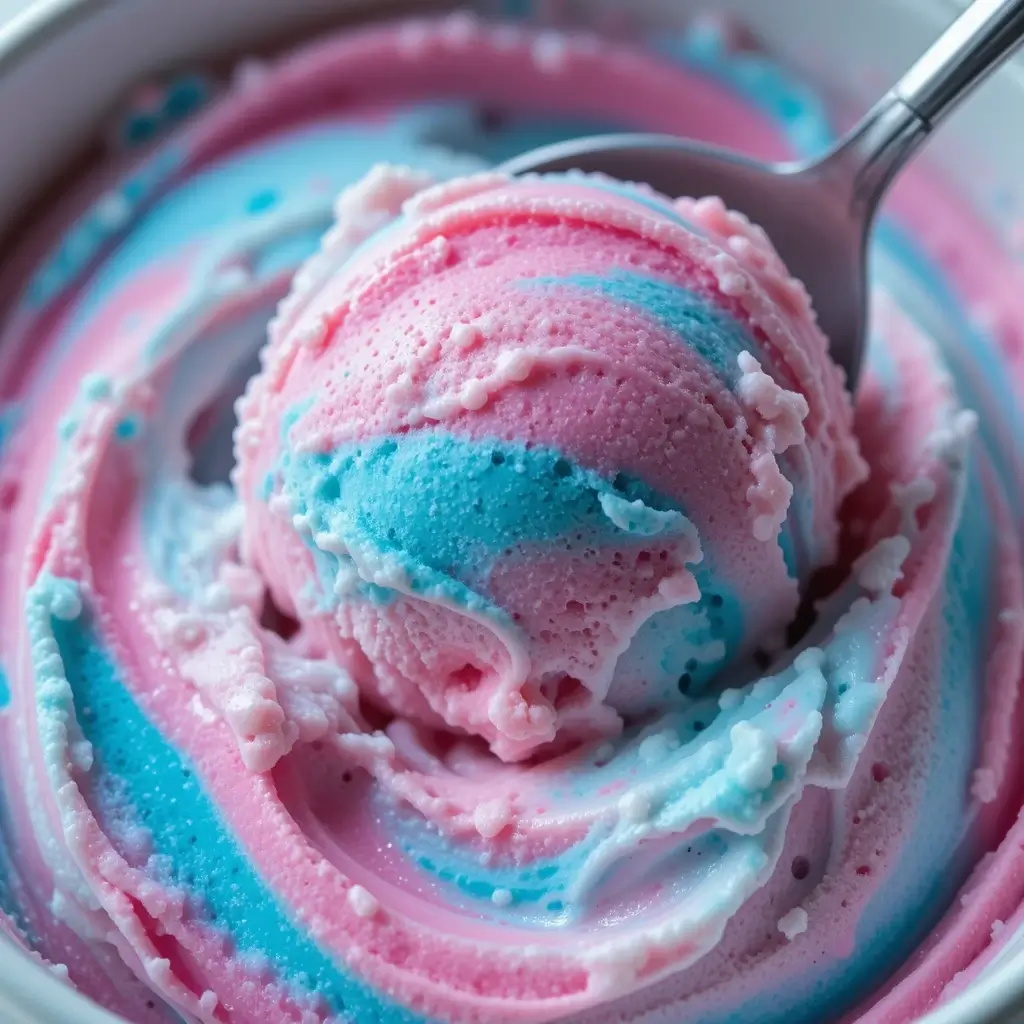
6- Layer and swirl:
Spoon dollops of the pink and blue mixtures into a 9×5-inch loaf pan, alternating colors to create a patchwork of pastel. Once the pan is full, take a butter knife and gently swirl it once or twice through the mixture to create that beautiful marbled effect. (Don’t overdo it – we want pretty swirls, not blended colors!)
7- Cover and freeze:
Lay a piece of parchment paper right on top of the surface to prevent ice crystals from forming. Cover the whole pan tightly with plastic wrap or foil. Freeze for at least 6 hours, or better yet, overnight.
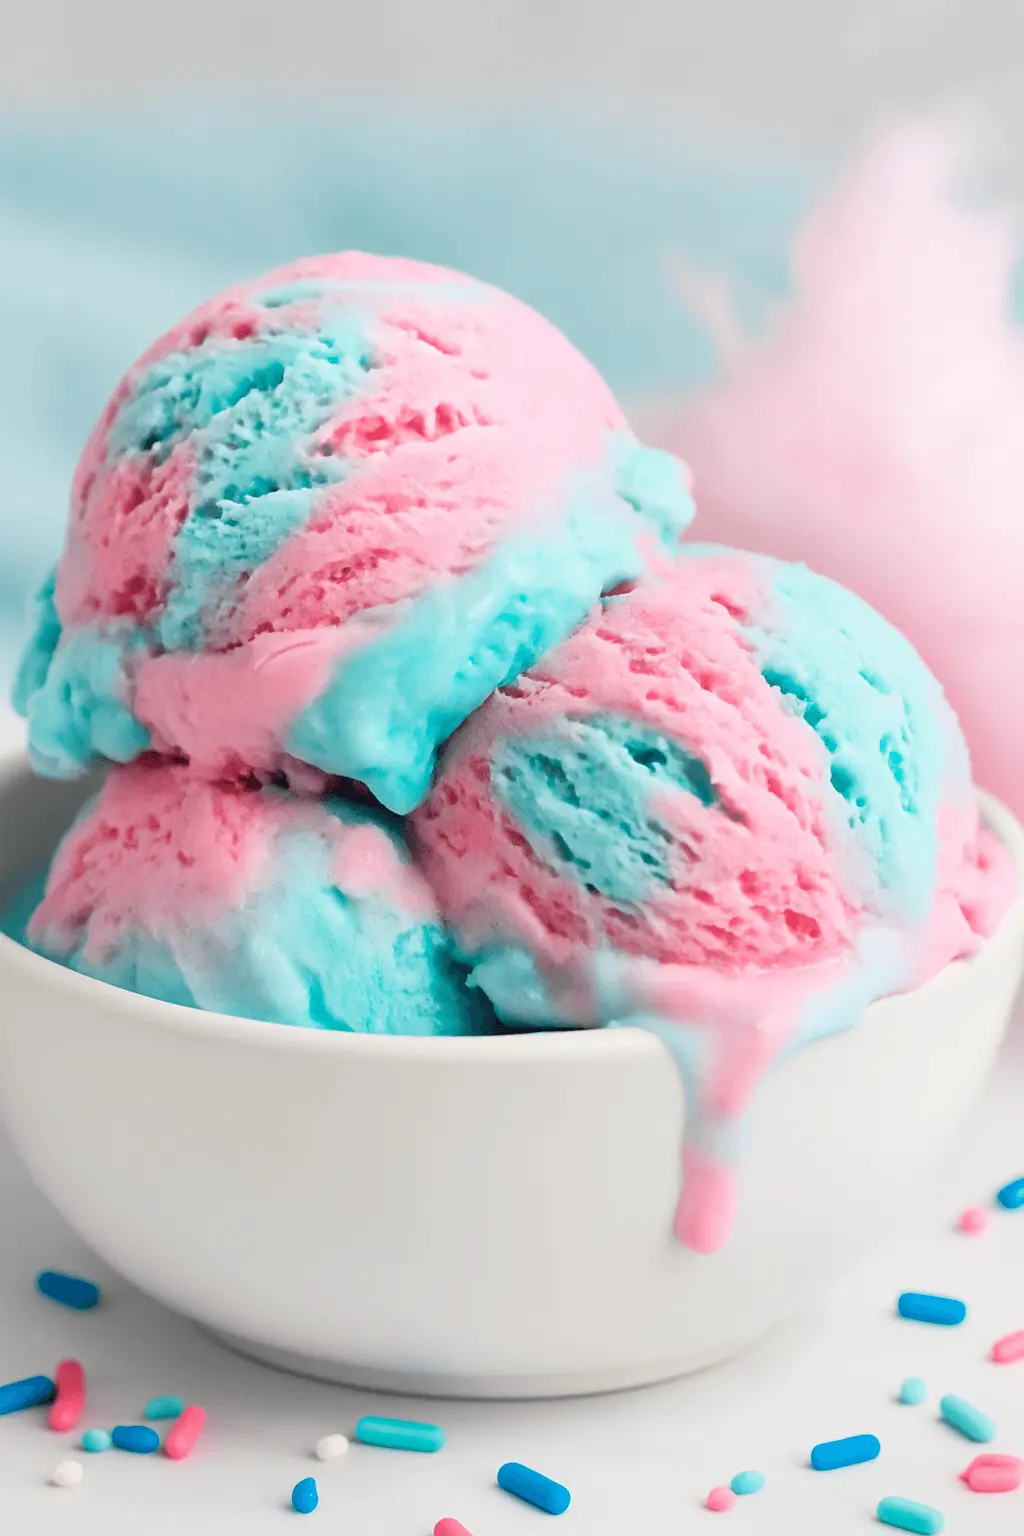
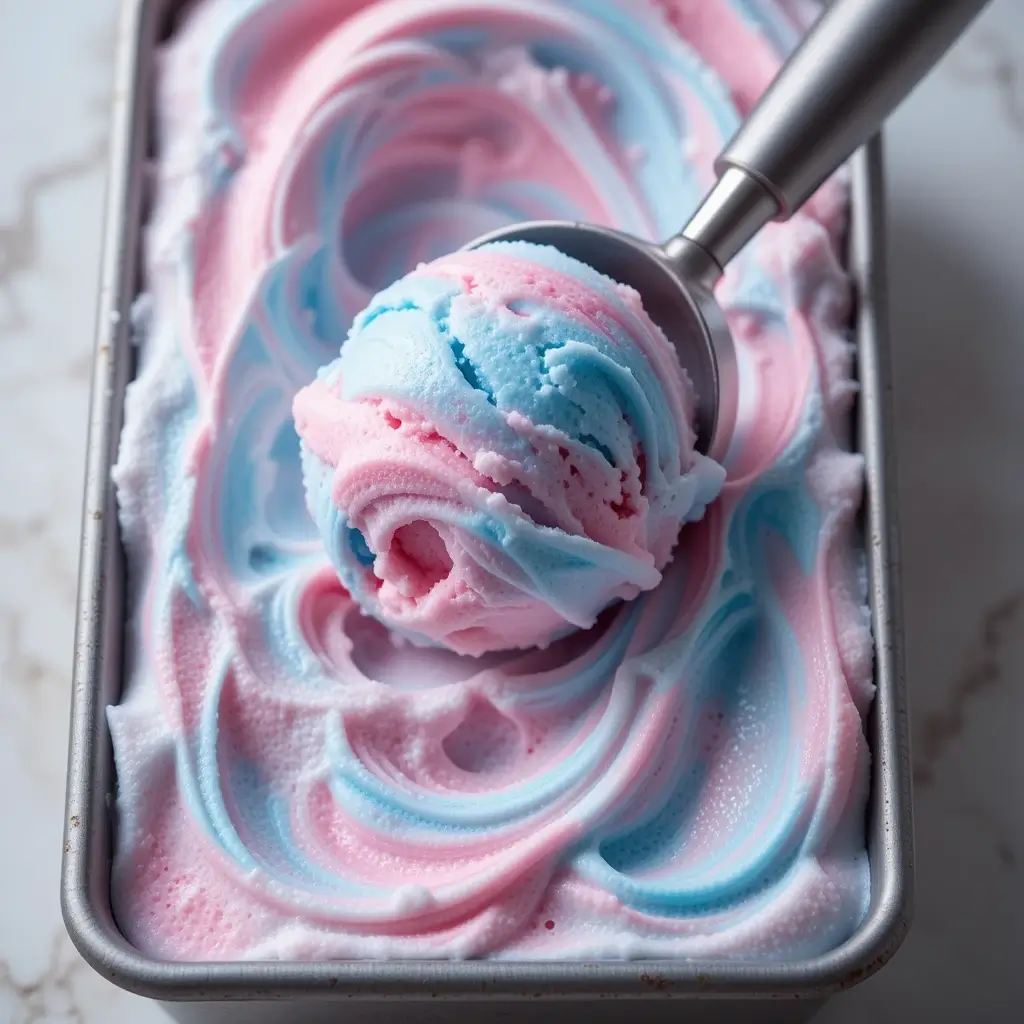
8- Scoop and serve:
When you’re ready to enjoy, let the ice cream sit at room temperature for about 5 minutes to soften slightly. Then, grab your favorite scoop and serve up colorful clouds of joy – maybe even in some cotton candy ice cream cones for extra fun!
Little Kitchen Tip:
If your ice cream feels too firm after a long freeze, don’t worry! Just let it rest a few extra minutes on the counter. It’ll scoop like a dream in no time.
There’s something so satisfying about seeing those pink-and-blue swirls come together – and knowing you made it all with just a few simple steps. Ready for a few bonus tips and fun ways to customize your batch? Let’s head there next!
Chef Tips and Fun Variations for Cotton Candy Ice Cream
Now that you know the basics, let’s make sure your cotton candy ice cream turns out as dreamy as it looks! Here are a few little kitchen tips and fun variations to help you customize and perfect your batch:
Keep it chilly: Make sure your cream, bowls, and beaters are nice and cold before you start. Cold equipment gives you that beautiful, fluffy whipped cream that makes the base so light.
Fold gently: When you combine the cream and condensed milk mixture, use slow, sweeping motions. Over-mixing can flatten your base and make the ice cream a little denser.
Don’t over-swirl: One or two gentle passes with your knife through the colors are plenty. Too much swirling blends everything into a single color instead of keeping those pretty pastel ribbons.
Play with colors: If you’re planning a party, you can easily swap out the traditional pink and blue for other shades to match your theme – think lavender and mint green for springtime or red and green for a holiday treat.
Add a surprise crunch: Stir a handful of crushed sugar cones or mini rainbow sprinkles into the batter before freezing for an extra layer of texture.
Try a Ninja Creami twist: If you own a Ninja Creami, freeze your cotton candy ice cream base flat and spin it right before serving. It brings a fresh-from-the-creamery texture that’s incredibly smooth.
There’s something really special about watching those pink and blue swirls come together in the pan – it feels like a little bit of kitchen magic!
Next up, let’s talk about all the fun ways you can serve this colorful treat.
Creative Serving Ideas for Cotton Candy Ice Cream Cones
When you finally scoop out that beautiful, swirly cotton candy ice cream, you’ll want to show it off! Here are a few fun and festive ways to serve it that make any occasion feel extra sweet:
Classic cones: Pile generous scoops into crispy sugar cones for that traditional fairground feel. A little tuft of real cotton candy on top makes it even more special!
Cotton candy ice cream cups: Serve smaller scoops in pretty paper cups or pastel espresso cups – perfect for kids’ parties or baby showers.
DIY sundae bar: Set out bowls of mini marshmallows, crushed candy, and sprinkles, and let everyone build their own colorful creation.
Ice cream cotton candy cone party favors: Layer scoops into clear waffle cones, wrap them in cellophane, and tie with a ribbon for the cutest takeaway treats.
Pair with fun drinks: Match your cotton candy ice cream with sparkling lemonade or a fruity mocktail for a full-on festive vibe.
However you serve it, this dessert always gets smiles – it’s just so full of charm and color.
Now, let’s make sure you know how to keep those leftovers just as dreamy!
How to Store and Freeze Leftover Cotton Candy Ice Cream
If you somehow have leftover cotton candy ice cream (trust me, it doesn’t last long in our house!), It’s super easy to keep it fresh and ready for next time:
- Store it right: Press a piece of parchment paper directly onto the surface of the ice cream before sealing the pan with plastic wrap or foil. This helps keep ice crystals away and protects that creamy texture.
- Scoop ahead for easy treats: Scoop individual portions onto a parchment-lined baking sheet and freeze them solid. Then pop them into a zip-top freezer bag. Perfect for grabbing a quick treat anytime!
- Soften before serving: When you’re ready to scoop again, let the container sit at room temperature for about 5 minutes. That little bit of patience makes a big difference for smooth, easy scooping.
A little planning goes a long way in keeping your ice cream soft, colorful, and full of that carnival fun!
More Delicious Desserts to Try
If you loved making this cotton candy ice cream, here are a few more sweet and colorful treats you might enjoy:
- Mango Jelly – Light, fruity, and full of tropical flavor.
- Mango Pomelo Sago – A refreshing dessert that’s perfect for warm days.
- Mango Chia Seed Pudding – A creamy, fruity treat with a fun texture.
Easy Cotton Candy Ice Cream Recipe You’ll Love
Equipment
- Mixing bowls (2 large, 2 small)
- Hand mixer or stand mixer
- Silicone spatula
- Whisk
- 9×5-inch loaf pan
- Parchment paper
- Plastic wrap or foil
Ingredients
- 2 cups heavy cream cold
- 1 can 14 oz sweetened condensed milk
- ½ teaspoon cotton candy flavoring
- 1 drop pink gel food coloring
- 1 drop blue gel food coloring
- Pinch fine sea salt
Optional Add-Ins:
- Mini rainbow sprinkles ¼ cup
- Crumbled sugar cones ¼ cup
Instructions
- Chill your mixing bowl and beaters for 15–20 minutes.
- Whip the heavy cream to soft peaks.
- In another bowl, whisk sweetened condensed milk, cotton candy flavoring, and sea salt until smooth.
- Gently fold whipped cream into the condensed milk mixture.
- Divide into two bowls and tint one pink, one blue.
- Spoon alternating colors into a loaf pan and swirl gently with a butter knife.
- Cover with parchment and plastic wrap; freeze at least 6 hours or overnight.
- Let sit 5 minutes before scooping and serving.
Notes
Key Takeaways
- Simple ingredients create a colorful, crowd-pleasing treat.
- No-churn method makes it easy for beginners and pros alike.
- Customizable colors let you match any theme or celebration.
- Soft, creamy texture that’s perfect for scooping and serving.
- Fun to make and share, whether for parties or family nights.
Cotton Candy Ice Cream FAQs: Tips for the Perfect Treat
Can I make cotton candy ice cream with lactose-free ingredients?
Yes, you sure can! Just swap the heavy cream for lactose-free whipping cream and use sweetened condensed coconut milk. The texture stays soft and creamy, though the flavor will have a tiny hint of coconut.
Why did my cotton candy ice cream turn icy?
If the base gets over-mixed or isn’t tightly covered, large ice crystals can form. To keep your homemade cotton candy ice cream extra smooth, fold the cream gently and press parchment right onto the surface before freezing.
Is there a natural way to color cotton candy ice cream?
Absolutely! Beetroot powder works beautifully for pink, and a pinch of spirulina gives a soft blue. The colors will be a little more subtle but still capture that fun cotton candy ice cream aesthetic.
Can I double the cotton candy ice cream recipe for a bigger batch?
Of course! Simply pour the mixture into a 9×13-inch pan or split it between two loaf pans. Just make sure to freeze it evenly so all that colorful goodness sets properly.
What’s the best cone to serve with cotton candy ice cream?
Sugar cones pair perfectly with the sweet, creamy scoops. But if you love a little nostalgia, classic cake cones are a fun option too, especially when you’re planning a cotton candy ice cream cone party!
Will adding cotton candy flavoring change the texture?
Not at all. Cotton candy flavoring is concentrated and water-based, so it blends right into the base without affecting the creamy texture – just keep it to around half a teaspoon for the best flavor balance.
Conclusion
And there you have it – your very own batch of colorful, dreamy cotton candy ice cream, ready to scoop and share! It’s such a simple recipe, but somehow it brings so much joy to the kitchen – a little swirl of sweetness that turns any day into something special.
If you give this recipe a try, I’d love to hear how it turned out for you! Leave a review and share your colorful creations – it always makes my day to see how you bring these treats to life in your own kitchens.
Thanks for making a little kitchen magic with me today – can’t wait to see you back here for the next sweet adventure!