
There’s just something special about a good old-fashioned cherry pie. It’s the kind of dessert that makes people pause mid-bite and smile. I’ve made plenty of pies over the years, but this cherry pie is the one my family asks for again and again – especially when we want something cozy, shareable, and full of flavor.
Pie baking doesn’t need to feel complicated or intimidating. Whether you’re using fresh cherries at their peak or reaching into the pantry for canned filling, this recipe walks you through everything step-by-step. You’ll get tips for a crisp, golden crust, a filling that sets just right, and ideas for how to serve it up beautifully.
Let’s roll up our sleeves and make a cherry pie you’ll be proud to share – whether it’s for a celebration or just because you feel like baking something wonderful.
Why This Cherry Pie Belongs in Your Recipe Box
If there’s one dessert that brings everyone to the table with a smile, it’s a cherry pie. This recipe is the kind you’ll turn to whenever you need something cozy, reliable, and full of flavor. Whether you’re baking for a Sunday dinner, a potluck, or just because it’s been “one of those days,” this pie fits the moment perfectly.
- Family-Friendly and Crowd-Pleasing – It’s a classic that everyone loves, from kids to grandparents.
- Quick and Easy to Make – With simple steps and everyday ingredients, you don’t need to be an expert baker.
- Flexible with Ingredients – Works beautifully with fresh, frozen, or canned cherry pie filling.
- Great for Any Occasion – Perfect for holidays, weeknights, or when you want something special without a big fuss.
- Customizable – Add a touch of cinnamon, swap crust styles, or turn it into cherry pie bars or bites – whatever fits your style.
It’s the kind of pie that feels homemade in the best way – warm, inviting, and straight from the heart.
Now, let’s take a look at everything you’ll need to bring this pie to life.
Cherry Pie Ingredients You’ll Need
Let’s talk ingredients – the heart of every great cherry pie. This recipe keeps things simple and practical with everyday items you likely already have in your kitchen. Each one plays an important role in getting that perfect balance of juicy filling and flaky crust.
Here’s what you’ll need:
- 3 cups pitted cherries (fresh, frozen, or canned and drained)
→ The star of the show – bright, bold, and bursting with fruit flavor. - ¾ cup granulated sugar
→ Brings out the natural sweetness and helps balance any tartness from the cherries. - ¼ cup light brown sugar
→ Adds a subtle depth and caramel-like richness to the filling. - 3 tablespoons cornstarch
→ Thickens the filling so your slices hold their shape beautifully. - 1 tablespoon fresh lemon juice
→ Just a splash sharpens the flavor and keeps it from tasting too sweet. - ½ teaspoon vanilla extract
→ Adds a warm, comforting aroma and rounds out the flavor. - ⅛ teaspoon almond extract (optional)
→ A little goes a long way – this adds a nostalgic, bakery-style cherry note. - Two 9-inch pie crusts, unbaked (from scratch or pre-made)
→ One lines the bottom, the other covers the top – go classic or get creative. - 1 large egg, beaten
→ Used as a wash to give your crust that lovely golden finish. - 1 tablespoon coarse sugar
→ Sprinkled on top for texture and sparkle – totally optional, but a nice touch.
Optional Add-Ins:
- ¼ teaspoon ground cinnamon – For cozy spice, especially nice in colder months.
- ¼ teaspoon lemon zest – Adds a fresh citrusy pop alongside the juice.
Pro Tip: Want to give your cherry pie a twist? Try folding in a handful of blueberries for a summery mix or swapping vanilla for cardamom for a more aromatic flavor – great if you’re feeling adventurous with cherry cobbler with pie filling ideas.
With everything gathered, it’s time to turn these simple ingredients into something unforgettable. Let’s bake!
How to Make Cherry Pie Step by Step
This is where the fun begins – bringing your cherry pie to life. Don’t worry about making it perfect. This process is straightforward, forgiving, and a joy to go through, especially once the sweet aroma starts filling your kitchen.
1. Make the cherry filling
In a medium saucepan, whisk together granulated sugar, brown sugar, and cornstarch until smooth. Add the cherries along with the lemon juice, vanilla, and almond extract, and give everything a gentle stir to combine. Place the pan over medium heat and cook, stirring often, until the mixture thickens and turns glossy – about 6 to 8 minutes. It should coat the back of a spoon and gently bubble.
2. Let it cool
Transfer the filling to a shallow bowl or plate and let it cool to room temperature. This helps prevent a soggy crust later on.
3. Roll out the bottom crust
Line a 9-inch pie plate with your first crust, gently pressing it into the bottom and sides. Leave a bit of dough hanging over the edge – you’ll need that to seal it later.
4. Fill the pie
Spoon the cooled cherry mixture into the prepared crust. Spread it out evenly and slightly mound it in the center for a classic domed look.
5. Top with the second crust
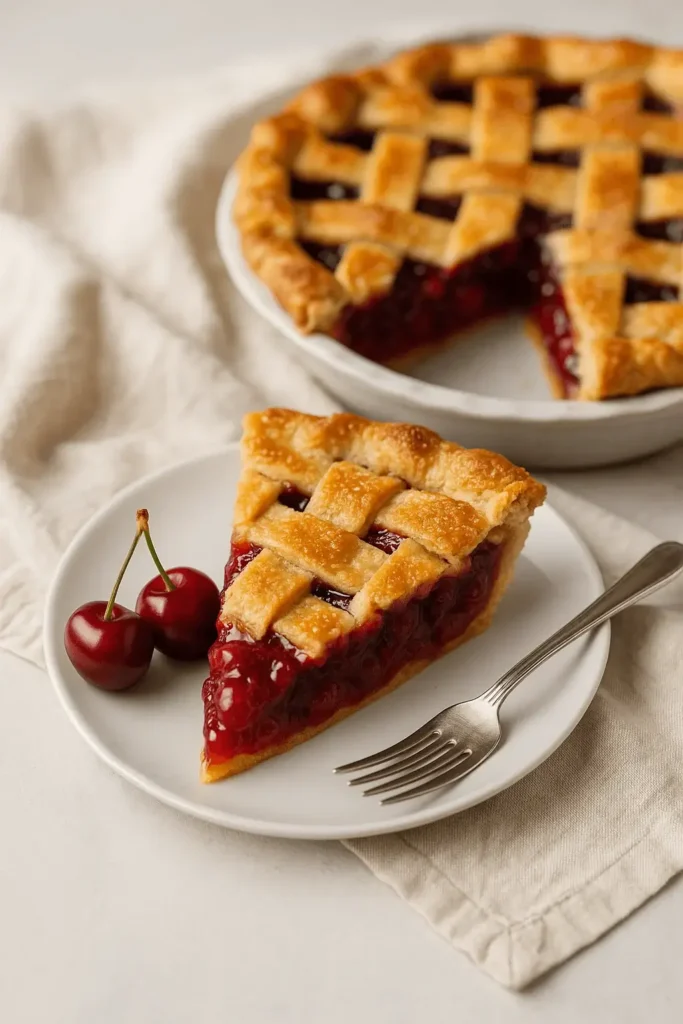
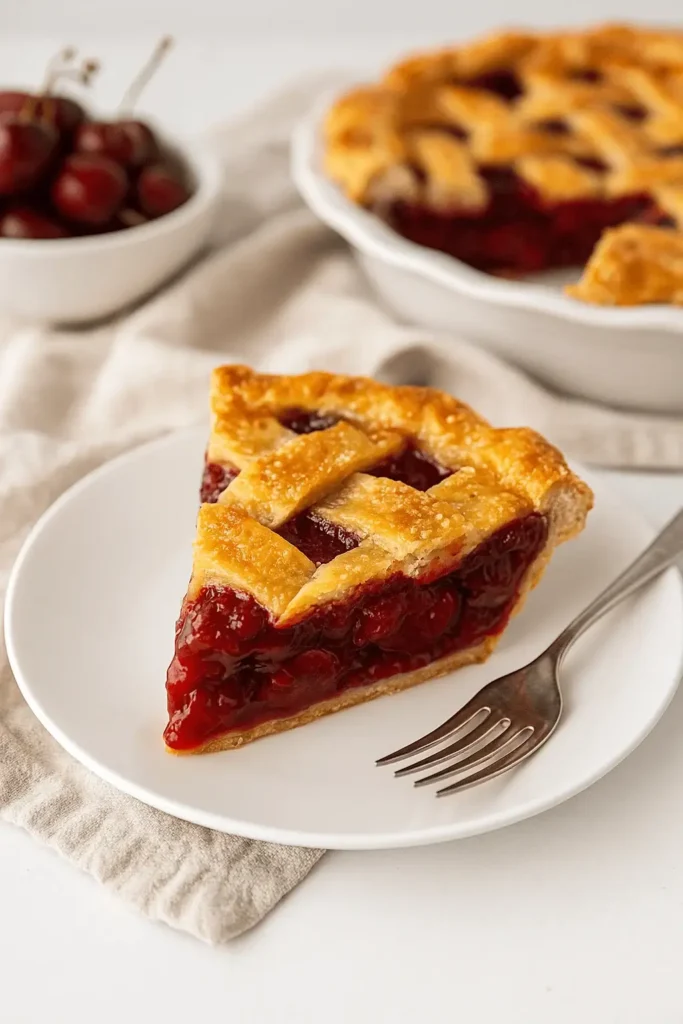
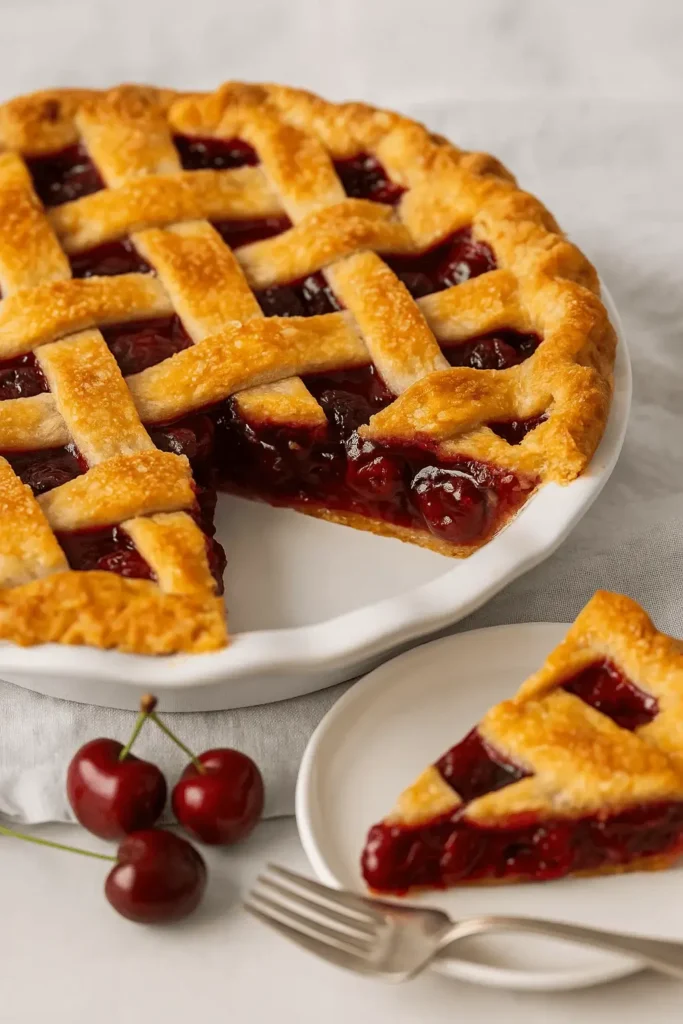
Place your second crust over the filling. You can go rustic with a full top (just remember to cut a few small slits for steam) or weave a lattice pattern if you’re in the mood for something decorative.
6. Seal and crimp the edges
Trim off any extra dough and pinch the edges together to seal – use your fingers or a fork to crimp for a finished look.
7. Add the finishing touches
Brush the top crust with the beaten egg. Sprinkle with coarse sugar if you’d like a little sparkle and crunch.
8. Bake to golden perfection
Place the pie on a baking sheet lined with parchment (to catch any drips). Bake in a preheated oven at 400°F (200°C) for 20 minutes. Then, reduce the heat to 350°F (175°C) and continue baking for another 25 to 30 minutes. You’ll know it’s ready when the crust is deeply golden and the filling is bubbling up through the vents.
9. Cool before slicing
Let the pie cool on a wire rack for at least 2 hours. This allows the filling to set, making it easier to slice cleanly without losing that beautiful structure.
Take a moment to admire your work – it’s a pie worth showing off. Now let’s talk about how to make it your own with a few easy tweaks and tips.
Cherry Pie Tips and Easy Variations
Once you’ve made your first cherry pie, it’s easy to get creative and make it your own. Here are a few of my go-to tips from years of baking for family gatherings, bake sales, and those “just because” weekends when pie sounds like a great idea.
- Chill the crust before baking
After assembling your pie, pop it in the fridge for 15–20 minutes. A cold crust going into a hot oven gives you better structure and flakiness. - Bake on a parchment-lined sheet pan
Fruit pies like this one can bubble over – baking on a lined tray keeps your oven clean and makes cleanup easy. - Try a lattice or cut-out top crust
A simple lattice looks beautiful and lets the filling peek through. You can also use cookie cutters to create fun designs on top! - Add a pinch of spice
For a cozy twist, stir ¼ teaspoon of ground cinnamon into your cherry mixture – it works especially well in colder months. - Mix cherry types
Combining sweet and sour cherries adds a great balance of flavor. It’s a nice trick if you’re working with frozen or canned fruit. - Get creative with shapes
Use a muffin tin and make mini cherry pie bites for parties or lunchbox treats. They’re a fun twist on the classic and easy to portion.
Every baker has their own little tricks, and I hope these help you build yours. Now that your pie’s baked and ready, let’s talk about how to serve it in the most delicious way possible.
Serving Ideas for Homemade Cherry Pie
Serving cherry pie is just as joyful as baking it. Whether it’s a family dinner or a casual weekend treat, this pie fits the mood perfectly and pairs beautifully with all kinds of extras.
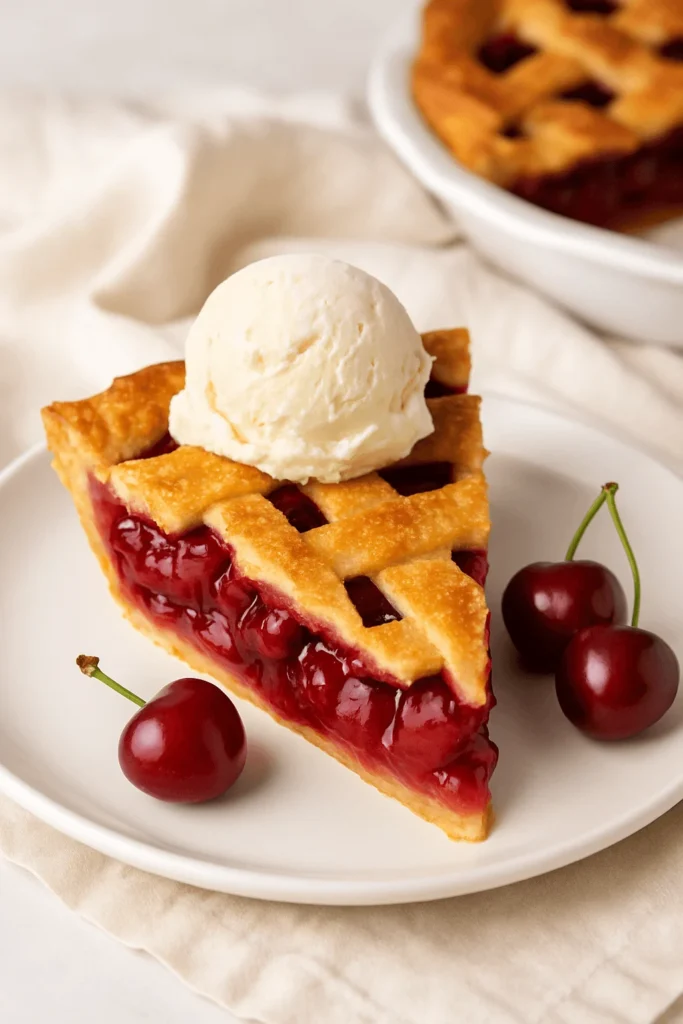
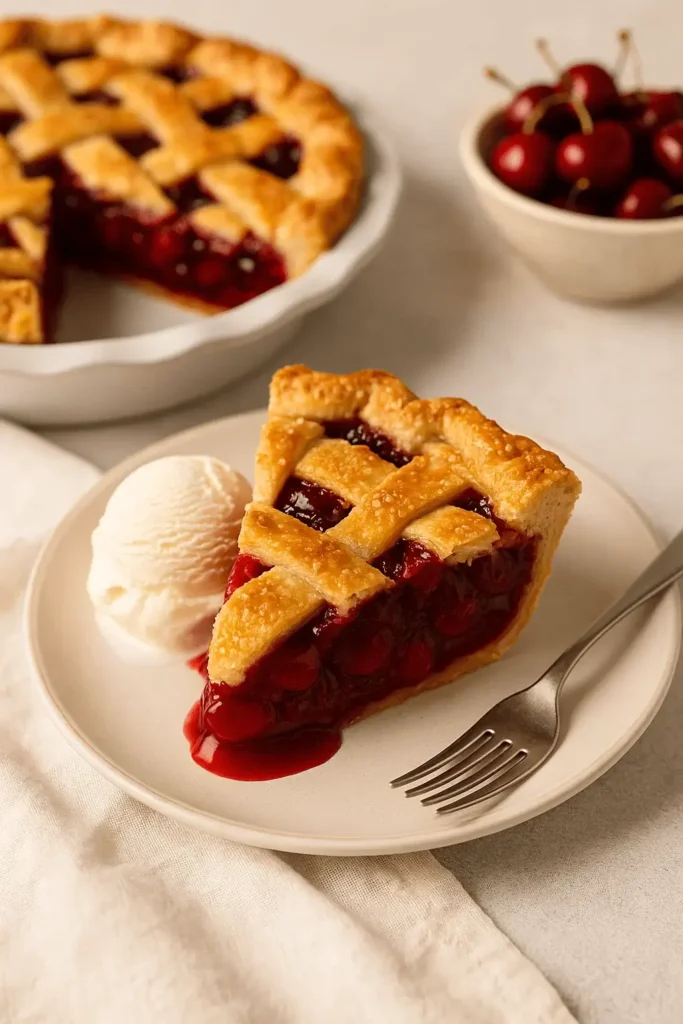
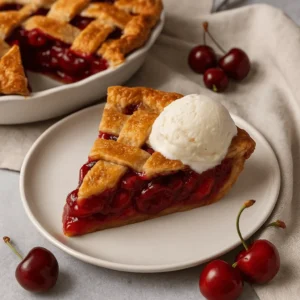
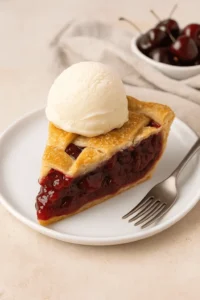
- Classic à la mode
Serve a warm slice with a scoop of vanilla ice cream melting on top. This classic pairing always brings smiles to the table. - Chilled with whipped topping
Let the pie cool completely, then add a dollop of chilled whipped topping for a cool, creamy contrast. - Brunch-worthy dessert
Pair it with hot coffee or black tea after a savory breakfast – yes, pie for brunch is 100% approved in our kitchen. - Summer picnic hero
Slice and pack it in parchment for outdoor events or potlucks. It’s easy to share and still looks great without a plate. - Layered dessert jars
Crumble leftover crust and layer with cherry filling and cream cheese mousse for a cherry cream cheese pie vibe in single-serve cups.
However you slice it, this pie has a way of turning an ordinary moment into something a little more special. And if you’ve got leftovers (lucky you!), let’s make sure they keep just as delicious.
How to Store and Reheat Cherry Pie
One of my favorite things about cherry pie is how well it keeps – if your family doesn’t gobble it up first! With just a few steps, you can enjoy it fresh again the next day (or even weeks later).
- At room temperature:
Cover loosely with foil and leave on the counter for up to 1 day. The crust stays nice and crisp. - In the fridge:
Wrap leftovers in plastic or store in an airtight container for up to 4 days. I like to place a paper towel underneath to absorb any extra moisture. - In the freezer:
Let the pie cool completely. Wrap the whole pie – or individual slices – in plastic, then foil. Freeze for up to 3 months. - To reheat slices:
Place on a baking sheet and warm in a 300°F oven for about 10 minutes. The crust will crisp up again and the filling will be soft and fragrant. - To reheat the full pie:
Loosely tent with foil and bake at 325°F for 20–25 minutes. Keep an eye on the edges to prevent over-browning.
A pie this good deserves to be enjoyed to the very last bite – and with these easy steps, it absolutely will be.
More Delicious Desserts to Try
If you loved this cherry pie, here are a few more fruit-filled bakes worth adding to your list:
- Cinnamon Roll Apple Pie – A cozy twist on two favorites in one easy dessert.
- Peach Pie with Canned Peaches – Sweet, sunny, and perfect for anytime baking.
These pies are just as comforting and easy to make – great for sharing or savoring with a cup of something warm.
Easy Cherry Pie That Wows Every Time
Equipment
- 9-inch pie plate
- Medium saucepan
- Mixing spoon or spatula
- Rolling pin (if using homemade crust)
- Pastry brush
- Baking sheet lined with parchment
- Wire cooling rack
Ingredients
- 3 cups pitted cherries fresh, frozen, or canned and drained
- ¾ cup granulated sugar
- ¼ cup light brown sugar
- 3 tablespoons cornstarch
- 1 tablespoon fresh lemon juice
- ½ teaspoon vanilla extract
- ⅛ teaspoon almond extract optional
- 2 unbaked 9-inch pie crusts store-bought or homemade
- 1 large egg beaten (for egg wash)
- 1 tablespoon coarse sugar optional topping
Optional Add-Ins:
- ¼ teaspoon ground cinnamon
- ¼ teaspoon lemon zest
Instructions
- In a saucepan, combine sugars and cornstarch. Stir in cherries, lemon juice, vanilla, and almond extract.
- Cook over medium heat until thick and glossy, about 6–8 minutes. Let cool completely.
- Roll out the bottom crust into a 9-inch pie dish.
- Fill with cooled cherry mixture, mounding slightly in the center.
- Top with second crust (full or lattice), seal and crimp edges.
- Brush with beaten egg and sprinkle with coarse sugar.
- Bake at 400°F for 20 minutes, then reduce to 350°F and bake 25–30 more minutes.
- Cool on a wire rack for 2 hours before slicing.
Notes
 Use fresh, frozen, or canned cherries – whatever you have on hand. If using canned cherry pie filling, reduce the added sugar slightly for best flavor.
Key Takeaways
- Made with simple, everyday ingredients
- Works with fresh, frozen, or canned cherries
- Crisp, golden crust and flavorful cherry filling
- Easy to customize with spices or crust designs
- Great for gatherings, holidays, or casual treats
- Stores and reheats well for later enjoyment
A classic dessert that’s as fun to make as it is to share.
Cherry Pie FAQs You’ll Be Glad You Read
Is it okay to use canned cherry pie filling for this recipe?
Yes, that’s an easy shortcut! Just drain off any extra syrup and use about 2 ¾ cups of filling. Since canned versions are already sweetened, you can reduce the added sugar in the recipe by half. It’ll still give you that cozy, homemade feel without the extra prep.
My crust stays pale on the bottom. How can I fix that?
Try baking your cherry pie on the lower oven rack and place it on a preheated metal baking sheet. The extra heat underneath helps the bottom crust bake up nice and golden.
Can I make this pie a little less sweet?
You sure can. Reduce both sugars by about 2 tablespoons each. The filling might be a touch softer, but it will still hold together well thanks to the cornstarch.
What’s the best way to keep the pie crust edges from overbrowning?
Once your crust starts to look golden, loosely cover the edges with foil or use a pie shield. That keeps things from browning too much while the center finishes baking.
Is this recipe gluten-free?
The cherry filling itself is naturally free from gluten. Just be sure to use a gluten-free pie crust and a GF-certified thickener if you’re swapping out cornstarch.
Can I make this pie ahead of time?
Absolutely. Bake it the day before, let it cool, then cover and keep it at room temperature for up to 24 hours – or chill it if needed. You can gently reheat slices before serving to bring back that just-baked goodness.
Still feeling curious? Let’s bring it all together so you can start baking with confidence.
Conclusion
There’s something truly special about baking a cherry pie from scratch – rolling out the dough, simmering the filling, and watching it all come together into something everyone can enjoy around the table. It’s the kind of recipe that feels warm, familiar, and full of little joys, whether it’s your first time baking or your fiftieth.
Tried this cherry pie? I’d love to know how it turned out! Share your thoughts or any little twists you added – it’s always fun to see how others make it their own. Your feedback means so much – and it helps others feel more confident in the kitchen too.