Let me tell you – this dump cake is my go-to when I want something sweet, warm, and fuss-free. You know those days when everyone’s hungry for dessert, but you’re already knee-deep in dishes or just not in the mood for a full baking session? This recipe saves the day every single time.
You don’t need any fancy tools or complicated steps – just a few pantry staples and one baking dish. The best part? It’s incredibly flexible. Whether you’re craving apple, cherry, or something a little different like blueberry or peach, this cake adapts to whatever you’ve got on hand.
In this post, I’ll walk you through everything – from the easy ingredient list to helpful tips and tasty variations. So grab a spoon, friend – we’re making dessert the simple way.
Why You’ll Love This Dump Cake Recipe
There’s something so comforting about a dessert that comes together with almost no effort – and that’s exactly what this dump cake delivers. It’s the kind of recipe you can throw together in minutes, whether you’re getting ready for a family gathering or just want something sweet after dinner. No mixers, no fancy tools – just simple ingredients layered in one dish.
Here’s why this recipe will earn a permanent spot in your rotation:
- Quick and easy to make – just layer and bake, no mixing required
- Perfect for any occasion – potlucks, holidays, or cozy nights in
- Family-friendly favorite – even picky eaters go back for seconds
- Customizable – try it with apple, cherry, or even peach cobbler dump cake styles
- Great for last-minute baking – uses pantry staples you probably already have
It’s one of those desserts that has everyone grabbing a spoon and gathering around without hesitation.
Now that you’re tempted, let’s look at exactly what you’ll need to make it happen.
Dump Cake Ingredients You’ll Need
This dump cake is all about ease, and the ingredients are as simple as it gets. You won’t need a mixer or a long grocery list – just a few pantry staples and your favorite fruit filling. Think of this as your base recipe, with plenty of room to play depending on what you’ve got at home or what you’re craving.
Here’s what you’ll need:
- 1 box (15.25 oz) yellow cake mix
This gives you that crumbly, buttery topping without making a cake from scratch. - 2 cans of pie filling (about 21 oz each)
Pick the flavor you love – apple, cherry, blueberry, or try a peach dump cake for a golden, fruity finish. - 1 cup (2 sticks) unsalted butter, melted
This helps the dry mix bake into a golden, flavorful topping with little pockets of crunch. - ½ cup chopped pecans (optional)
Adds a nutty texture and a little toasty contrast to the soft filling.
Optional Add-Ins:
- Mini chocolate chips – For a chocolate dump cake with rich, melty bites
- Diced pineapple – Great for a cherry pineapple dump cake combination
- Cubes of cream cheese – Adds creamy pops of flavor, especially in a strawberry cheesecake dump cake
Pro Tip: Try using spice cake mix instead of yellow cake for a cozy pumpkin dump cake recipe – it pairs beautifully with fall flavors like cinnamon and nutmeg.
Now that your ingredients are lined up, let’s walk through how this all comes together in just a few steps.
How to Make a Dump Cake Step-by-Step
You’re about to see just how simple (and fun) this dump cake is to make. No beating, no bowls – just layer and bake. Here’s exactly how to do it:
1- Preheat your oven to 350°F.
Grab a 9×13-inch baking dish and lightly grease it. A quick spritz of cooking spray will do – just enough to keep things from sticking later.
2- Spread the fruit filling into the dish.
Pour in both cans of your chosen pie filling and use a spatula to spread it evenly from edge to edge. You want a smooth, glossy layer of fruit covering the bottom.
3- Sprinkle the cake mix across the top in an even layer.
Gently shake the dry mix over the fruit so it covers everything evenly. No stirring – keeping the layers separate is what gives a dump cake its signature texture.
4- Pour the melted butter over the cake mix.
Slowly drizzle the butter across the surface. Aim to moisten as much of the dry mix as you can – it’ll bake into a golden crust with buttery pockets. If a few dry spots remain, that’s okay!
5- Add toppings, if using.
Sprinkle chopped pecans, chocolate chips, or even bits of cream cheese on top. These little extras melt into the layers and make every bite interesting.
6- Bake for 45–50 minutes.
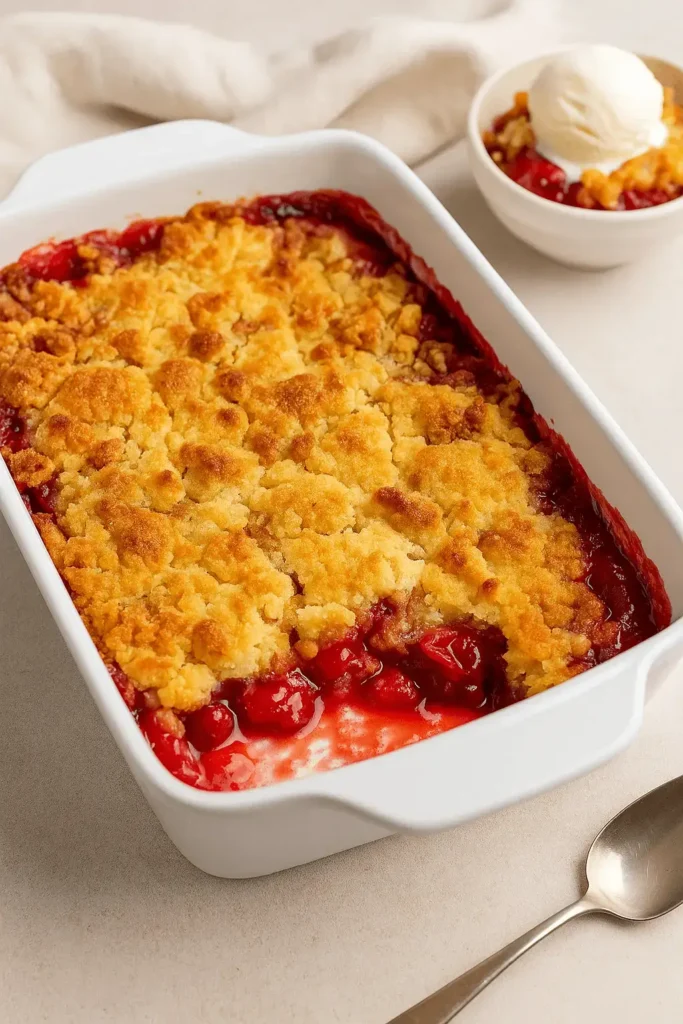
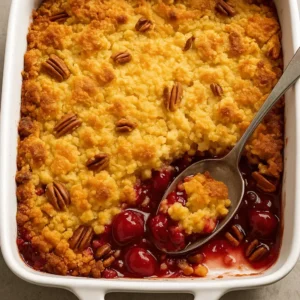
Pop the dish onto the center oven rack. You’ll know it’s ready when the top is deep golden and the fruit filling bubbles around the edges. Your kitchen will smell amazing – buttery, warm, and inviting.
7- Let it cool slightly before serving.
Give it about 10–15 minutes to rest so the filling thickens and the top firms up just a bit. Serve it warm with a spoon or spatula.
This is one of those recipes where the smell alone gets everyone gathered in the kitchen. I’ll show you a few tips and fun variations to keep things exciting every time you make it!
Dump Cake Tips and Easy Variations
Once you’ve made this dump cake once, you’ll see how easy it is to mix things up. These tips and variations are perfect for customizing your dessert or just making sure everything bakes up golden and delicious the first time. Think of this like swapping ideas with a friend over coffee in the kitchen.
Tips to Make It Foolproof:
- Melt your butter fully before pouring it – this helps coat more of the cake mix and prevents dry spots.
- Don’t stir the layers together. Dump cake works best when the fruit, cake mix, and butter stay in their own zones while baking.
- Use a spoon to gently tap down dry mix if it’s sitting too thick in one spot – just don’t press it in like batter.
- If using cold butter slices instead of melted butter, slice thin and space them evenly so the topping bakes evenly.
Fun Variations to Try:
- Apple Dump Cake – Add a sprinkle of cinnamon over the apple pie filling before adding the cake mix.
- Pumpkin Dump Cake Recipe – Use canned pumpkin pie filling with a spice cake mix on top – cozy and perfect for fall.
- Strawberry Cheesecake Dump Cake – Drop spoonfuls of softened cream cheese over strawberry filling before topping with cake mix.
- Peach Cobbler Dump Cake – Mix in a few fresh or frozen peach slices with your canned filling for a juicy upgrade.
- Cherry Pineapple Dump Cake – Layer one can cherry and one can crushed pineapple for a sweet-tart flavor combo.
There’s really no wrong way to make a dump cake your own – just follow the basic steps and let your pantry inspire you.
Serving Ideas for Your Dump Cake
One of my favorite things about this dump cake is how versatile it is. Whether you’re serving it warm out of the oven or saving it for later, it fits just about any occasion – from backyard barbecues to cozy Sunday dinners.
Try these serving ideas to make it shine:
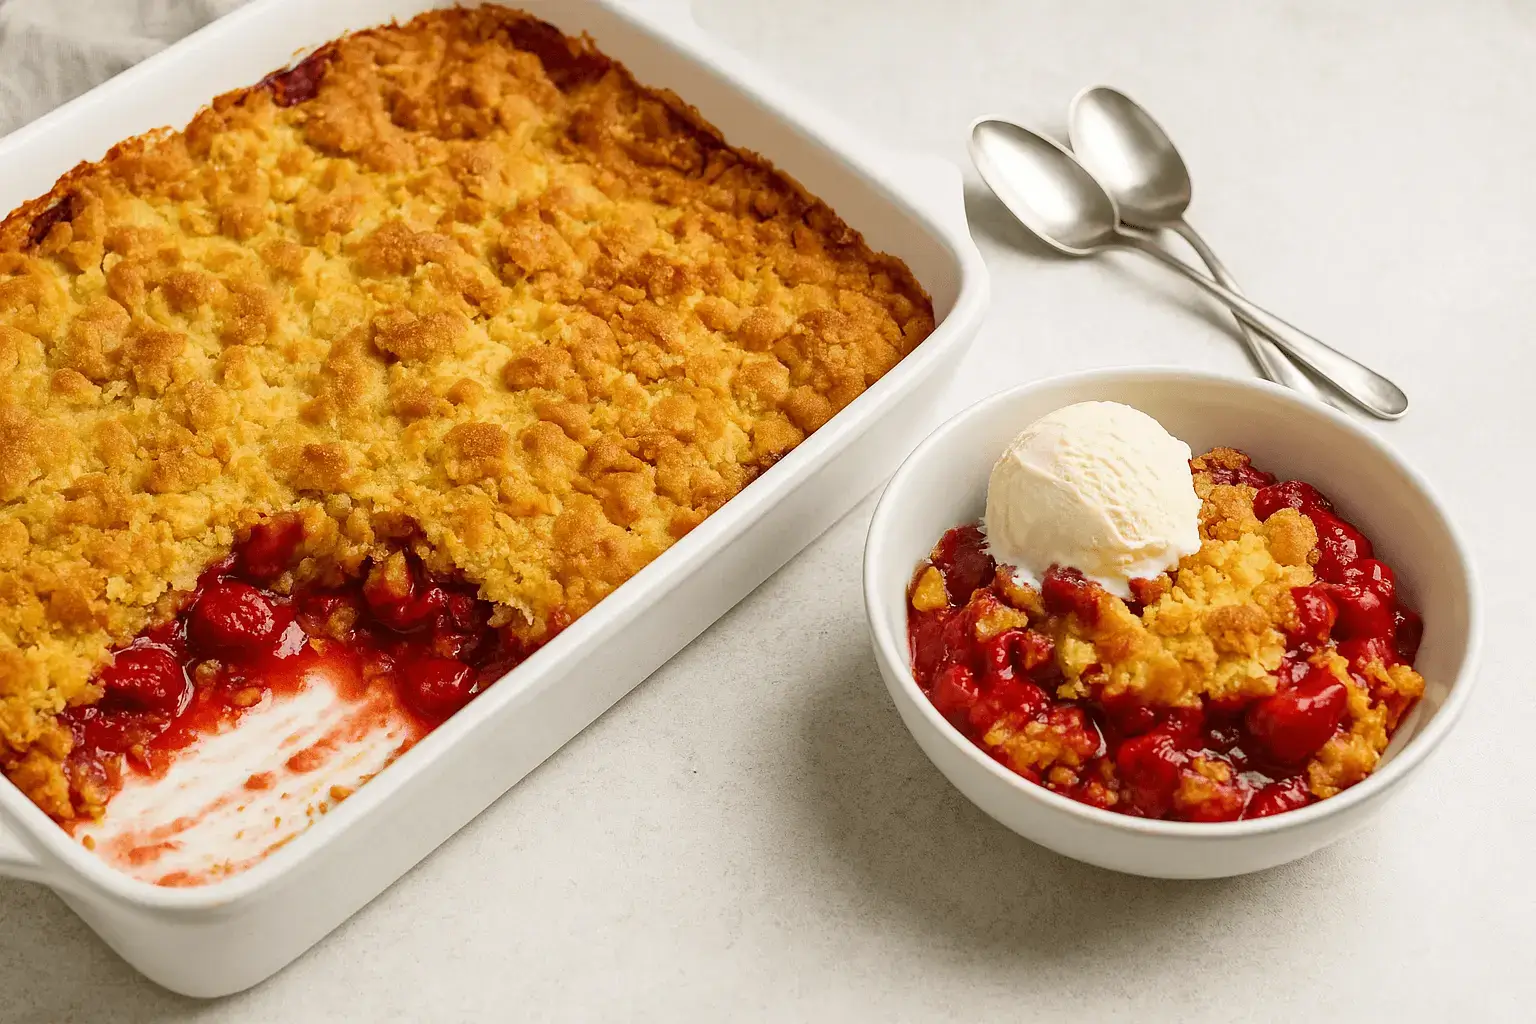
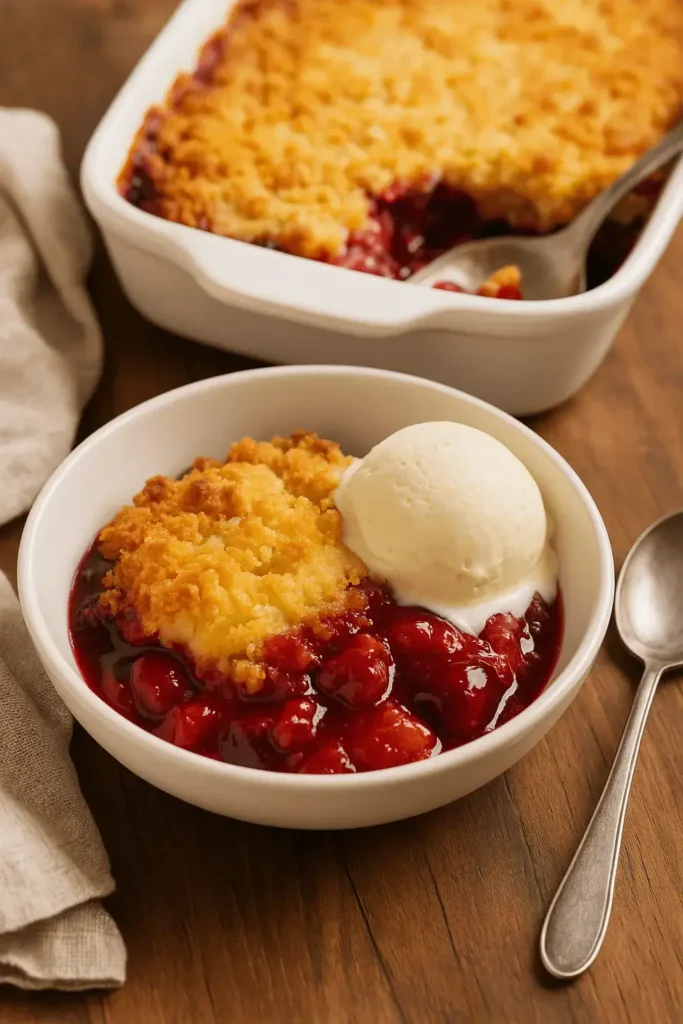
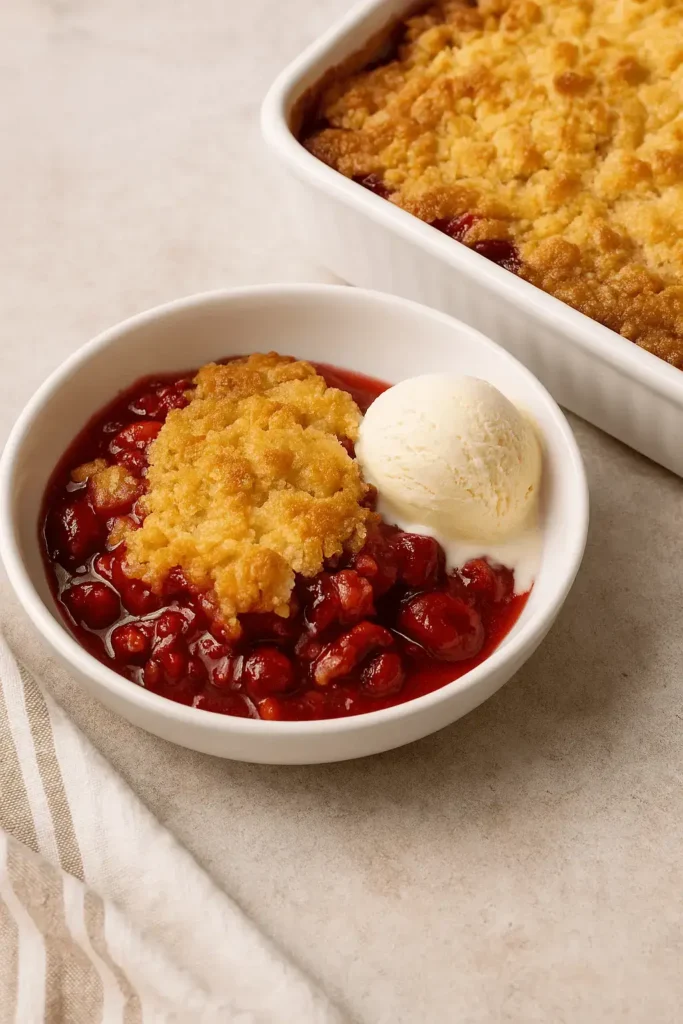
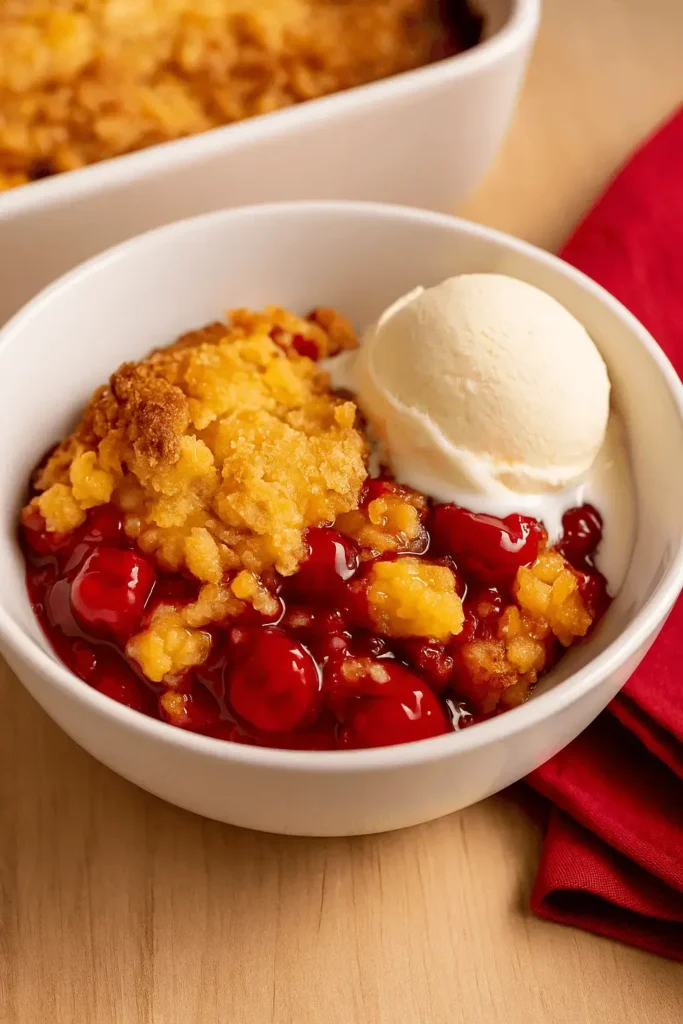
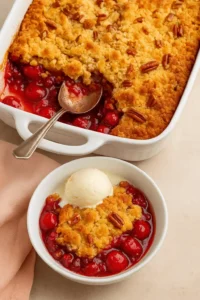
- Warm with vanilla ice cream – That contrast between cold and warm is a crowd favorite.
- Drizzle with caramel or chocolate syrup – Especially tasty on an apple dump cake or chocolate version.
- Add a dollop of whipped topping – Simple and classic, especially for fruit-forward versions like blueberry or peach.
- Serve in mason jars – Great for parties or picnics; layer with toppings for an easy, portable treat.
- Pair with coffee or tea – Makes a sweet little afternoon break feel extra cozy.
You can dress this dessert up or keep it simple – either way, it brings the kind of joy that makes you want to grab a second helping. Now, let’s make sure you know how to keep the leftovers just as tasty.
How to Store and Reheat Dump Cake
If you’re lucky enough to have leftovers, this dump cake stores and reheats beautifully – no soggy surprises here. It’s one of those desserts you can enjoy the next day and still feel like it just came out of the oven.
Here’s how to store it right:
- Refrigerate:
Let the cake cool completely, then cover the dish tightly or transfer slices to airtight containers. It stays fresh in the fridge for about four days. - Freeze (for later):
Wrap individual portions in foil or freezer-safe wrap, then place in a resealable bag or container. Freeze for up to 2 months. Thaw overnight in the fridge before reheating. - To reheat:
Warm individual portions in the microwave for 20–30 seconds, or pop a larger portion in a 325°F oven for 10–15 minutes. The oven helps bring back that slightly crisp topping.
Leftovers don’t feel like leftovers when they still taste this good.
More Desserts to Try
If you enjoyed this dump cake, here are a few more cozy, crowd-pleasing treats you might love next:
- Banana Waffles – Crisp on the outside, soft inside, perfect for weekend mornings
- Crookie Recipe – A fun twist that blends croissants and cookies
- Cinnamon Roll Cake – All the gooey flavor of cinnamon rolls in a sliceable cake
- Brownie Cupcakes – Rich, chocolatey, and just the right size for sharing
- Matcha Cake Recipe (Vegan) – A flavorful bake with earthy matcha and no dairy or eggs
Easy Dump Cake You Can’t Resist
Equipment
- 9×13-inch baking dish
- Spatula or spoon
- Small saucepan or microwave-safe bowl (for melting butter)
- Oven mitts
Ingredients
- 2 cans 21 oz each fruit pie filling (apple, cherry, blueberry, or peach)
- 1 box 15.25 oz yellow cake mix
- 1 cup 2 sticks unsalted butter, melted
- ½ cup chopped pecans optional
Optional Add-Ins:
- ½ cup mini chocolate chips
- ½ cup diced pineapple
- 4 oz cream cheese cubed
Instructions
- Preheat oven to 350°F and grease a 9×13-inch baking dish.
- Spread pie filling evenly in the bottom of the dish.
- Sprinkle the dry cake mix over the top – no stirring!
- Drizzle melted butter over the cake mix to moisten most of the surface.
- Add optional toppings like pecans, pineapple, or cream cheese if using.
- Bake for 45–50 minutes until golden and bubbling at the edges.
- Let cool for 10–15 minutes before serving.
Notes
 No mixing bowls needed! Just layer the ingredients right into the baking dish. For nut allergies, simply skip the pecans.
Key Takeaways
- Quick to prep – just layer and bake
- Uses pantry staples like cake mix and canned fruit
- Great for parties, holidays, or casual nights in
- Customizable with different fillings and toppings
- Tastes just as good the next day
- Beginner-friendly and family approved
Now that you’ve got the highlights, let’s dive into some common questions to help you bake with confidence!
Dump Cake FAQs for Home Bakers
Can I make this with fresh fruit instead of canned filling?
Absolutely! Use around 5 cups of sliced fresh fruit, then mix it with ½ cup of sugar and 2 tablespoons of cornstarch. That little mix gives you the same saucy texture as canned pie filling. Once it’s coated, just spread it in your baking dish and follow the rest of the recipe as usual.
Why does my topping have dry flour spots?
That usually means some areas didn’t get enough butter. Next time, drizzle the melted butter slowly and evenly across the top – or use thin slices of cold butter spaced out over the cake mix. That way, more of the topping bakes up golden and crisp.
Do I need to add eggs to a dump cake?
No eggs needed! The moisture from the fruit filling and butter is enough to turn the cake mix into a tender, crumbly topping – no extra ingredients required.
How can I make a chocolate version?
It’s easy! Swap the yellow cake mix for a chocolate fudge mix and pair it with canned cherry filling. It gives you that rich, chocolatey flavor that’s perfect for a fun twist on classic dump cake recipes.
Can I make this in a slow cooker?
Yes, you can. Just layer everything in a greased 6-quart slow cooker, cover, and cook on HIGH for 2 to 2½ hours. The topping should be set, and the edges will start to get a little golden.
Can I cut the recipe in half?
Definitely! Use one can of pie filling, half a cake mix, and ½ cup melted butter. Bake it in an 8-inch square dish for about 35 minutes, or until the top is golden and the filling is bubbly.
Still curious? You’re not alone – this easy dump cake recipe is full of little tricks and fun ways to make it your own! Let’s bring it all together with one last look in the conclusion.
Conclusion
There’s just something special about a dessert that brings everyone back to the table with a smile – and this dump cake does exactly that. It’s simple, cozy, and full of those familiar flavors we all love. Whether you stick with the classic or try out a peach, cherry, or chocolate version, it’s one of those recipes you’ll come back to again and again.
If you gave it a try, I’d love to hear how it turned out for you! Feel free to leave a review or share your favorite twist – it means a lot and helps others find the recipe too.