
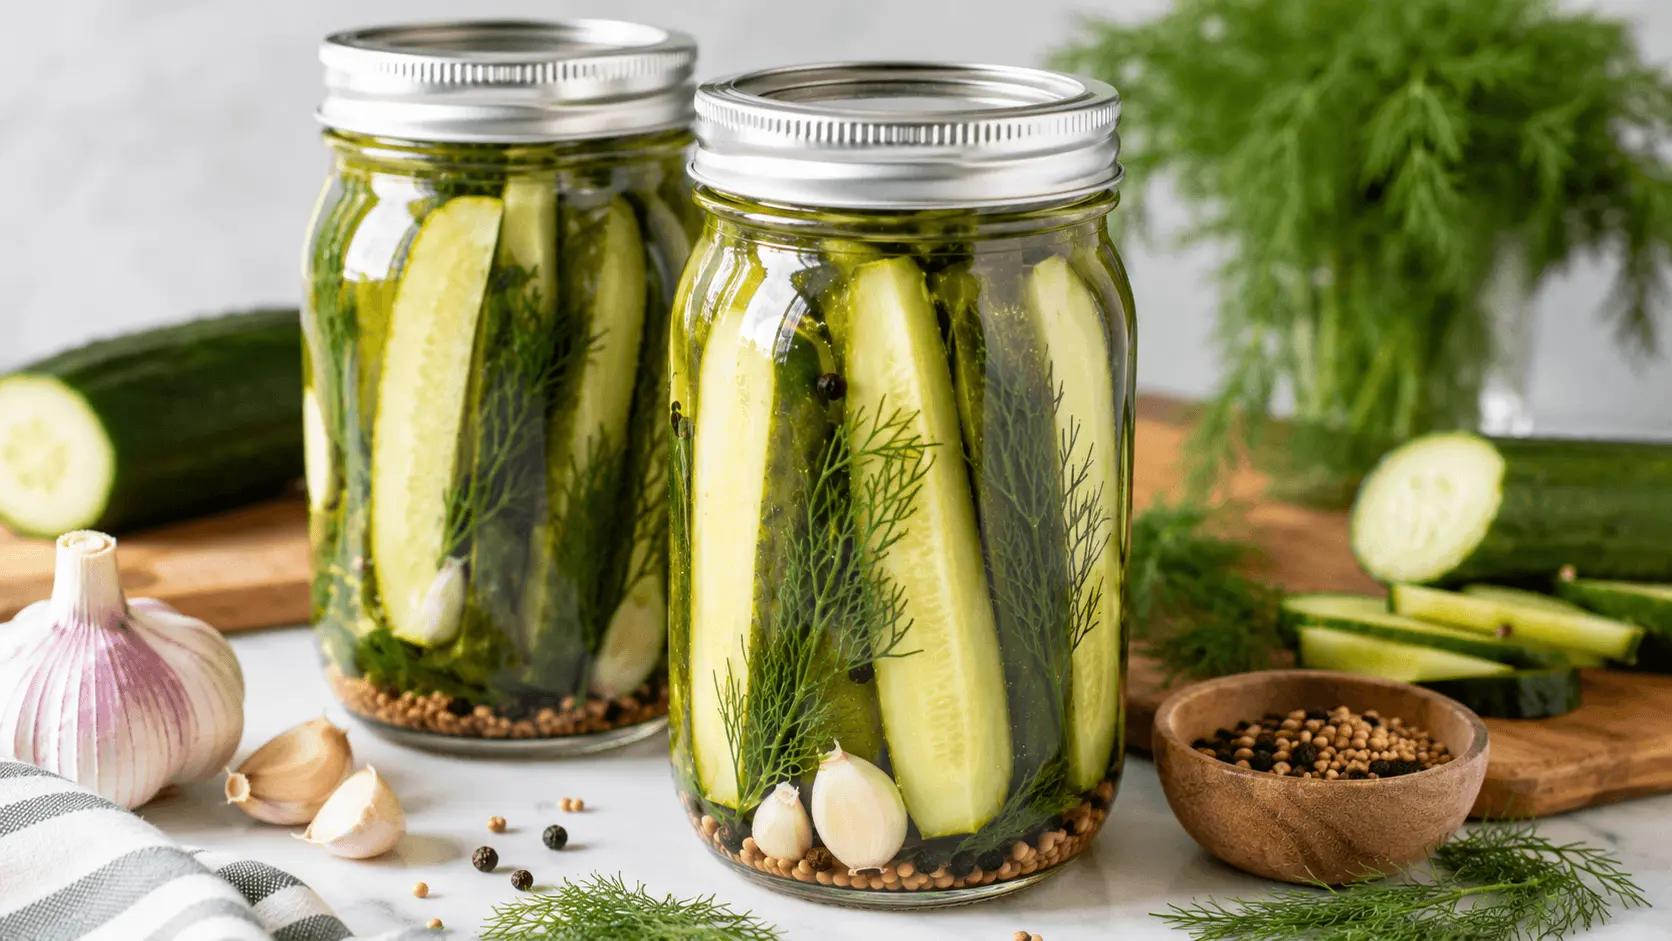
Refrigerator Dill Pickles are crisp cucumber spears soaked in a tangy vinegar brine with fresh dill, garlic, and simple spices. They require no canning, stay refreshingly crunchy, and develop plenty of bright pickle flavor after about 24 hours in the refrigerator.
A homemade pickle should snap when you bite it—not bend like a tired cucumber. The challenge is getting bold dill flavor without cooking the cucumbers or spending an afternoon processing jars. These Refrigerator Dill Pickles solve both problems with a cold brine, an ice-water soak, and a few easy preparation tricks. You will learn how to choose cucumbers, mix the brine, pack the jars, preserve that satisfying crunch, and customize every batch.
Why You’ll Love Refrigerator Dill Pickles
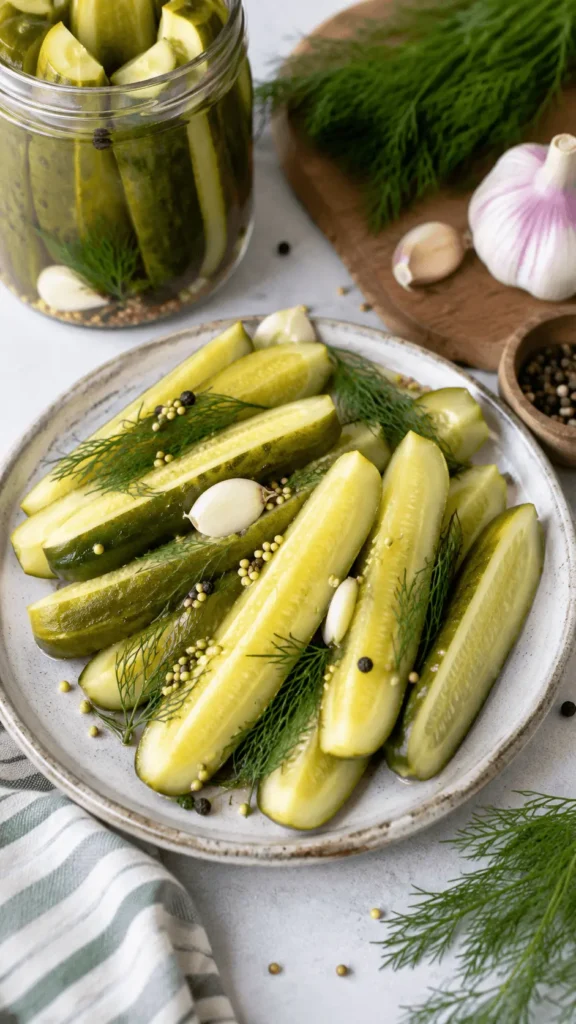
These Refrigerator Dill Pickles bring together everything you want in a homemade pickle: a crisp bite, bright acidity, fragrant dill, and just enough garlic. The recipe is simple enough for a first-time pickle maker but flavorful enough to become a regular refrigerator staple.
No canning equipment required: These are refrigerator dill pickles with no canning, boiling-water processing, or special sealing steps. You only need clean jars with tight-fitting lids.
Ready after one day: These 24-hour refrigerator pickles begin tasting delicious after an overnight rest. Their flavor becomes even fuller after two or three days.
Cold brine protects the texture: Because the cucumbers are not covered with boiling liquid, they keep a fresher, firmer bite.
Easy to make in a small batch: The recipe fills two pint-size jars, making it practical when you have a few fresh cucumbers rather than a large garden harvest.
Simple ingredients: Vinegar, water, salt, dill, garlic, and basic spices create a balanced refrigerator pickle brine without unnecessary extras.
Easy to customize: Add more garlic, a pinch of red pepper flakes, or extra dill to match your preferred flavor.
Useful beyond snacking: Serve the pickles with sandwiches, grain bowls, grilled meals, salads, or simple lunch plates.
Now that you know why this quick pickle method works so well, it is time to gather the fresh ingredients that create the best flavor and crunch.
Ingredients for Refrigerator Dill Pickles
The ingredient list for Refrigerator Dill Pickles is refreshingly short. Fresh cucumbers provide the snap, while vinegar and salt build the tangy brine. Dill, garlic, and whole spices add layers of aroma without overwhelming the clean cucumber flavor.
Small pickling cucumbers — 1½ pounds: Choose firm, unwaxed cucumbers without soft spots. Their small seeds and dense flesh help produce crunchy refrigerator dill pickles.
Cold water — 1 cup, plus more for soaking: Water softens the sharpness of the vinegar and creates a balanced brine.
Distilled white vinegar with 5% acidity — 1 cup: Provides the clean, bright tang that defines homemade refrigerator pickles.
Pickling salt or fine sea salt — 1½ tablespoons: Seasons the cucumbers and helps draw flavor into each spear. Fine salt dissolves more easily in a cold brine.
Granulated sugar — 2 teaspoons: Rounds out the acidity without making the pickles noticeably sweet.
Fresh dill sprigs — 8 to 10: Gives this fresh dill pickle recipe its grassy, fragrant flavor.
Garlic — 4 cloves, peeled and lightly crushed: Creates classic garlic dill refrigerator pickles with a savory finish.
Black peppercorns — 2 teaspoons: Add gentle warmth and a subtle peppery aroma.
Mustard seeds — 1 teaspoon: Bring a mild earthy note that complements the vinegar and dill.
Optional Add-Ins
Red pepper flakes — ¼ to ½ teaspoon: Add a mild or medium spicy finish.
Dill seeds — ½ teaspoon: Strengthen the dill flavor when fresh dill is mild.
Sliced onion — ¼ small onion: Adds a crisp, savory layer to the jars.
Coriander seeds — ½ teaspoon: Provide a light citrusy note that works well with garlic and dill.
Pro Tip: Use cucumbers that feel hard and heavy for their size. Avoid cucumbers with wrinkled skin, yellow areas, or soft ends. For maximum crunch, make the pickles as soon as possible after buying or harvesting the cucumbers.
With the cucumbers chilled and the seasonings measured, you are ready to pack the jars and add the tangy brine.
How to Make Refrigerator Dill Pickles
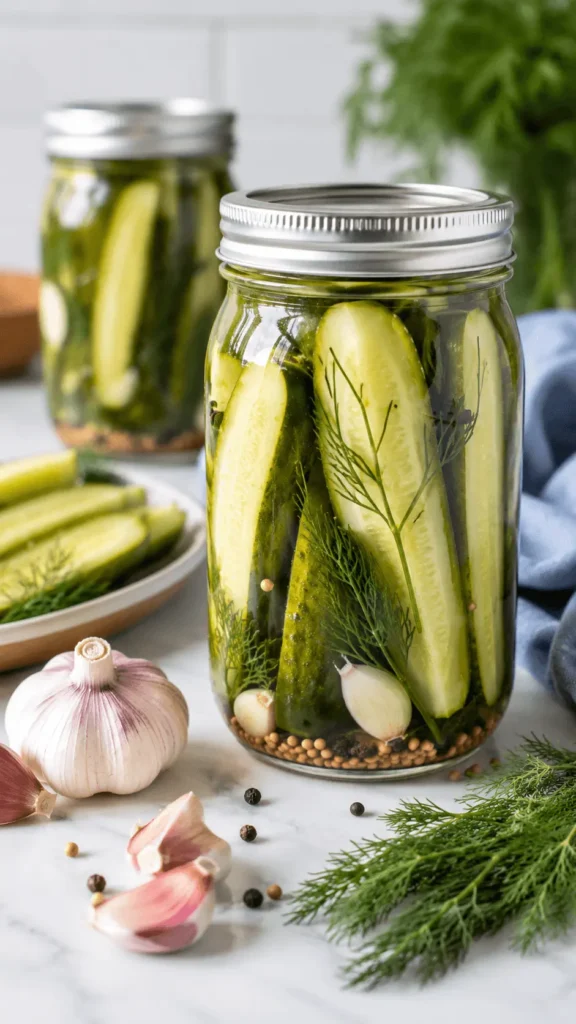
Making Refrigerator Dill Pickles is mostly a matter of preparing the cucumbers correctly and giving them enough time to chill. The process is calm and straightforward: soak, trim, pack, pour, and refrigerate.
Clean the jars and lids.
Wash two pint-size glass jars and their lids in hot, soapy water. Rinse thoroughly and allow them to drain. The jars do not need to be processed for canning, but they should be clean and free of chips or cracks.
Chill the cucumbers.
Wash the cucumbers under cool running water and gently scrub away any dirt. Place them in a large bowl of ice water for 30 minutes. This step helps firm the cucumbers before they enter the brine.
Trim the ends.
Remove the cucumbers from the ice water and dry them. Cut a thin slice from both ends, paying special attention to the blossom end. Trimming that end helps protect the finished texture from becoming soft.
Cut the cucumber spears.
Slice each cucumber lengthwise into four or six spears, depending on its size. Keep the pieces fairly even so they pickle at a similar rate. Shorten very long spears as needed so they fit below the jar rim.
Mix the cold brine.
In a medium bowl or large measuring cup, combine 1 cup cold water, 1 cup vinegar, 1½ tablespoons salt, and 2 teaspoons sugar. Whisk for one to two minutes, until the salt and sugar are fully dissolved. The liquid should look clear rather than grainy.
Add the seasonings.
Divide the dill, garlic, peppercorns, and mustard seeds evenly between the two jars. Add red pepper flakes or other optional spices now, if using.
Pack the cucumbers.
Stand the cucumber spears upright in the jars. Pack them snugly enough that they do not float freely, but do not crush or force them. Leave a little open space near the top for the brine.
Pour in the brine.
Slowly pour the refrigerator pickle brine over the cucumbers. Make sure every spear is completely submerged. Gently tap the jars against the counter or slide a clean utensil around the inside edge to release trapped air bubbles.
Cover and refrigerate.
Close the lids securely and place the jars in the refrigerator immediately. Keep them upright during the first several hours to prevent leaks.
Wait at least 24 hours.
The quick refrigerator dill pickles will have a light, fresh flavor after one day. For a stronger garlic-and-dill taste, chill them for 48 to 72 hours before serving. The cucumbers will gradually deepen in flavor while keeping a firm, juicy center.
Once the jars are chilling, a few practical tips can help you fine-tune the texture and flavor of future batches.
Chef Tips and Variations for Refrigerator Dill Pickles
The basic Refrigerator Dill Pickles recipe is dependable, but small choices can make the difference between an ordinary pickle and one with an impressive snap. These tips will help you avoid softness and adjust the flavor confidently.
Start with very fresh cucumbers: Freshness matters more than cucumber size. A cucumber that already bends slightly will not become crisp in the brine.
Do not skip the ice bath: A 30-minute soak helps refresh the cucumbers and improves their firm texture.
Keep the brine cold: Hot liquid can begin softening the cucumber flesh. This no-cook refrigerator pickles method keeps every ingredient cool.
Use 5% acidity vinegar: This common acidity level creates a reliable balance for refrigerator pickles. Do not reduce the vinegar or replace part of it with extra water.
Keep the spears submerged: Exposed cucumber tips may pickle unevenly. Pack the jars carefully and add enough brine to cover the vegetables.
For stronger garlic flavor: Slice the garlic cloves instead of lightly crushing them. More cut surfaces release more flavor into the brine.
For a gentler garlic flavor: Leave the cloves whole and use two or three instead of four.
For extra dill flavor: Add ¼ teaspoon of dill seeds to each jar along with the fresh sprigs.
For spicy pickles: Add sliced fresh chili or red pepper flakes. Begin with a small amount because the heat becomes stronger as the pickles rest.
For pickle chips: Cut the cucumbers into ¼-inch rounds instead of spears. The thinner slices may taste ready in 12 to 18 hours.
Do not reuse old brine for a full new batch: The liquid becomes diluted as the cucumbers release water. Mix fresh brine for consistent flavor and quality.
Your finished pickles can now brighten everything from a simple snack plate to a full family meal.
Serving Suggestions for Refrigerator Dill Pickles
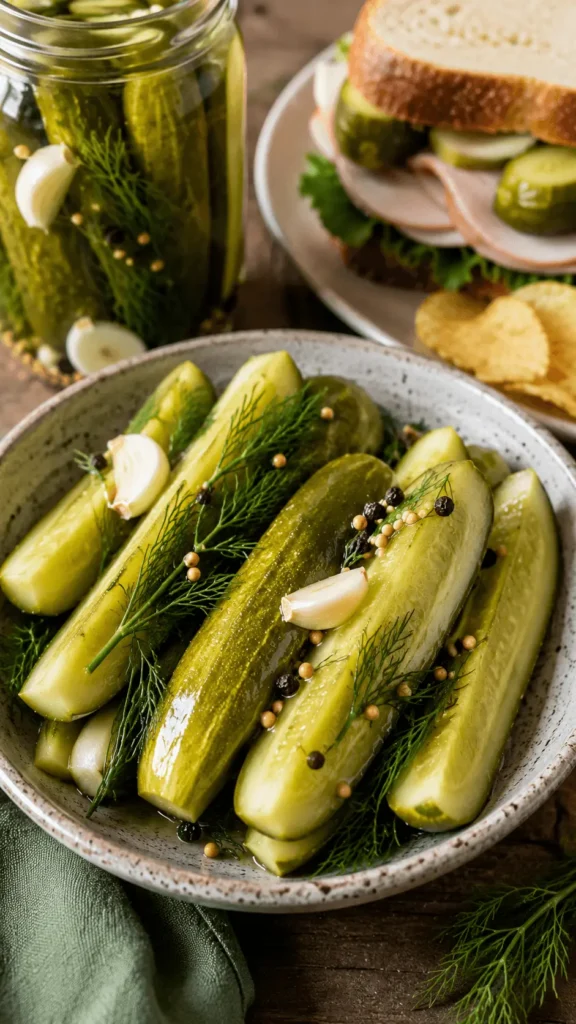
Cold Refrigerator Dill Pickles are especially satisfying when served straight from the jar, with beads of brine clinging to their crisp edges. Their acidity can balance rich, creamy, smoky, or savory foods, making them a flexible addition to everyday meals.
Serve beside sandwiches: Add two or three chilled spears to a lunch plate for a bright, crunchy contrast.
Chop them into egg salad: Finely diced pickles add acidity and texture without requiring a separate relish.
Add them to grain bowls: Pair chopped pickles with rice, roasted vegetables, beans, and a creamy dressing.
Build a snack plate: Arrange pickle spears with sliced vegetables, crackers, cheese, olives, and a simple dip.
Top a baked potato: Finely chop the pickles and sprinkle them over a warm potato with herbs and a creamy topping.
Serve with grilled chicken or fish: The cool vinegar bite cuts through savory grilled flavors.
Add them to pasta or potato salad: Small pieces provide little bursts of dill, garlic, and acidity.
Use the brine in dressings: Whisk a spoonful into a simple vinaigrette for extra brightness. Only use brine that still smells fresh and has been kept refrigerated.
After serving, proper refrigeration will help the remaining pickles stay flavorful and crisp.
Storing and Reheating
These pickles are designed for cold storage, and their fresh texture depends on remaining refrigerated. Refrigerator Dill Pickles do not need reheating and should not be stored at room temperature.
Refrigerator storage: Keep the jars tightly covered and refrigerated at 40°F or below. For the best crunch and flavor, enjoy the pickles within about two weeks.
Keep them submerged: Use clean utensils when removing pickles and make sure the remaining pieces stay below the brine.
Do not freeze: Freezing damages the cucumber cells and usually leaves the thawed pickles soft and watery.
No reheating needed: Serve the pickles cold directly from the refrigerator. Heating will soften their crisp texture.
Texture changes: The spears will become more strongly flavored and slightly less crisp the longer they sit.
Check before eating: Discard the batch if you notice mold, an unpleasant odor, unusual pressure, or other clear signs of spoilage.
With safe storage covered, the most important points are easy to remember.
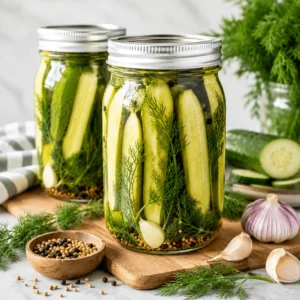
Easy Refrigerator Dill Pickles with Perfect Crunch

Equipment
- Two clean pint-size glass jars with lids
- Cutting board
- Sharp knife
- Large bowl
- Medium mixing bowl or large measuring cup
- Whisk
- Measuring cups and spoons
Ingredients
- 1½ pounds small pickling cucumbers
- Ice water for soaking
- 1 cup cold water
- 1 cup distilled white vinegar with 5% acidity
- 1½ tablespoons pickling salt or fine sea salt
- 2 teaspoons granulated sugar
- 8 to 10 fresh dill sprigs
- 4 garlic cloves peeled and lightly crushed
- 2 teaspoons black peppercorns
- 1 teaspoon mustard seeds
Optional Ingredients
- ¼ to ½ teaspoon red pepper flakes
- ½ teaspoon dill seeds
- ¼ small onion thinly sliced
- ½ teaspoon coriander seeds
Instructions
- Wash the jars and lids in hot, soapy water, rinse well, and drain.
- Wash the cucumbers and soak them in ice water for 30 minutes.
- Dry the cucumbers and cut a thin slice from both ends.
- Slice each cucumber lengthwise into four or six spears.
- Whisk the cold water, vinegar, salt, and sugar until completely dissolved.
- Divide the dill, garlic, peppercorns, mustard seeds, and optional seasonings between the jars.
- Pack the cucumber spears snugly into the jars.
- Pour in enough brine to cover the cucumbers completely.
- Close the jars and refrigerate immediately.
- Chill for at least 24 hours before serving, or 48 to 72 hours for deeper flavor.
Notes
Key Takeaways
Refrigerator Dill Pickles are simple, but the best results come from a few deliberate steps. Here is your quick cheat sheet for a crisp and balanced batch.
- Use small, firm cucumbers for dense flesh and a satisfying snap.
- Soak them in ice water before trimming and slicing.
- Use equal amounts of water and 5% acidity vinegar for the cold brine.
- Keep the cucumbers fully submerged and refrigerate the jars immediately.
- Wait at least 24 hours before tasting, or two to three days for deeper flavor.
- Enjoy them within about two weeks for the freshest texture and aroma.
The answers below cover the most common questions that come up when making a small batch at home.
Refrigerator Dill Pickles FAQs
How soon can I eat Refrigerator Dill Pickles?
You can taste them after 24 hours. At that point, the outside will be tangy while the center still tastes fresh and cucumber-forward.
For a stronger dill, garlic, and vinegar flavor, wait 48 to 72 hours. The spears will continue absorbing the brine during that time.
Why did my pickles turn soft?
Soft pickles usually begin with older cucumbers or exposure to heat. Use very fresh cucumbers, soak them in ice water, trim the ends, and add only cold brine.
The pickles may also soften gradually if stored for too long. This is why they are best enjoyed within about two weeks.
Can I use regular slicing cucumbers?
Yes, although the texture may be less dense than pickling cucumbers. Choose small, firm slicing cucumbers and remove large seeds when necessary.
You may also cut them into thick rounds rather than long spears. Avoid waxed cucumbers unless you peel them first.
Can I double this recipe?
Yes. Double every ingredient evenly and use four pint-size jars or two larger jars.
Do not pack everything into one overcrowded container. The brine needs to surround the cucumber pieces so they pickle evenly.
Can I make these pickles without sugar?
Yes. The sugar only softens the sharp edge of the vinegar; it does not make the pickles sweet.
Leave it out for a more direct, sour flavor. Keep the vinegar, water, and salt amounts unchanged.
Are these pickles shelf-stable?
No. These are refrigerator dill pickles with no canning, so they must remain refrigerated. They are not intended for pantry storage.
Place them in the refrigerator as soon as the brine is added, and return the jar promptly after serving.
With those questions answered, you are ready to turn a handful of cucumbers into a crisp homemade snack.
Conclusion
Refrigerator Dill Pickles prove that homemade pickles do not need to be complicated. A cold brine, fresh dill, garlic, and firm cucumbers create bright flavor and a clean, crunchy finish without canning equipment.
Prepare a jar today, let it chill overnight, and enjoy the first crisp spear tomorrow. Once you taste how fresh and lively homemade pickles can be, keeping a small batch in the refrigerator may become part of your regular kitchen routine.