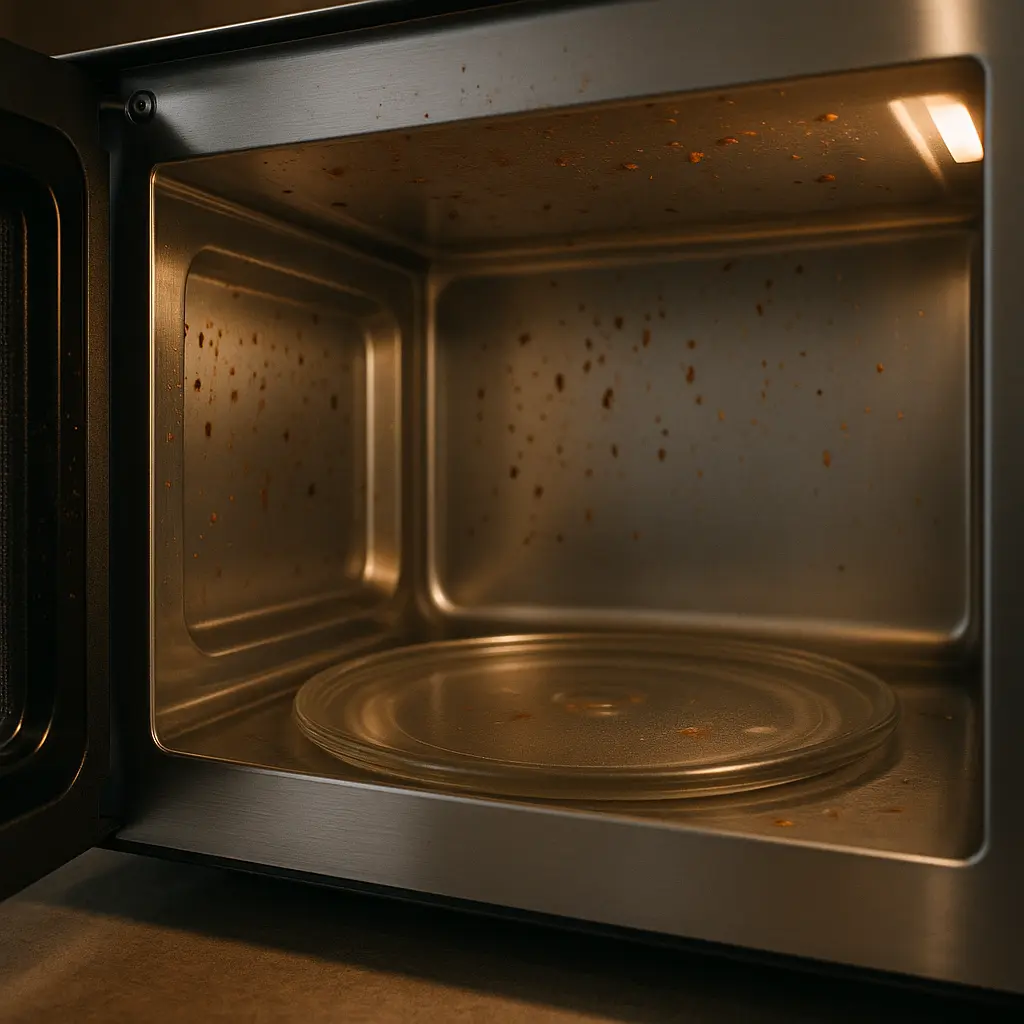
Last night, I opened my microwave and genuinely recoiled. The ceiling looked like someone splattered spaghetti sauce across it weeks ago, and the door was speckled like an abstract painting – just not in a good way. I wasn’t even sure what had exploded in there. Maybe a burrito? Maybe soup? Maybe a forgotten leftover gone rogue. Whatever it was, it had dried into little reddish craters that didn’t budge with a single swipe.
I texted a photo to my sister, who immediately replied, “Did something explode in there?”
If you’ve ever faced a crusty, greasy, mysteriously sticky microwave mess, you’re not alone. Let’s explore how to tackle it, why it happens, and how to keep your microwave looking (and smelling) fresh – without harsh chemicals or endless scrubbing.
Why Is My Microwave Always a Splash Zone?
Microwave energy excites water molecules near the surface (and a little below), so foods often heat from the outside in, and not always evenly. That’s why soups bubble up, sauces pop, and anything steamy can spatter if it isn’t covered. Those tiny eruptions launch bits onto the walls, door, and ceiling – and if you don’t wipe them right away, they dry into tough, caked-on spots.
And the ceiling? That’s prime real estate for stubborn splatters, especially when something quietly boils over while spinning out of sight.
So no, it’s not just you. Microwaves are sneakily messy.
1. First, Loosen Up That Gunk – The Easy Way
You don’t need to scrub till your arm falls off. The trick is steam.
What you’ll need:
- A microwave-safe bowl or large mug
- 1 cup of water
- Optional: A few lemon slices or a splash of vinegar for a fresh scent
Here’s what to do:
Pop the bowl into your microwave and heat it for about 3–5 minutes until it’s steamy and hot. Keep the door closed for another 2–3 minutes to let the steam do the work.
The steam softens hardened splatters so they wipe off without a fight. It’s like a spa moment for your microwave.
2. Wipe It All Down – Top, Sides, Door (and Yes, the Ceiling)
Once the steam has done its job, grab a sponge or soft cloth and start wiping. Start from the top – the ceiling is where splatters love to cling – and work your way down the sides, the back wall, the turntable, and finally the door.
Don’t forget to:
- Lift out the glass plate and clean underneath.
- Pay attention to the rubbery seal around the door – food hides there too.
- Use gentle motions to avoid scratching the surface.
If anything’s still stuck on, dampen your sponge with warm water and go over it again. Most of it should come right off after the steam treatment.
3. For Extra Tough Spots, Use Baking Soda (Not Elbow Grease)
Some food gunk refuses to leave peacefully. For those spots, make a quick paste:
- 2 tablespoons baking soda
- A splash of water (just enough to make a paste)
Dab it onto the spot, let it sit for 5–10 minutes, then wipe away with a damp cloth. It’s gentle on surfaces but strong against stuck-on messes. Plus, baking soda naturally lifts odors too.
4. Keep It Smelling Fresh with This Simple Trick
Even after cleaning, microwaves can hold onto weird smells – especially if something exploded in there last week. Here’s what you can do:
Microwave Deodorizer:
- Place a small bowl of baking soda or activated charcoal inside (leave the microwave off).
- Let it sit overnight with the door closed.
In the morning, the funky smells will be gone, replaced by a clean, neutral scent.
If you’d rather something citrusy, microwave a sliced lemon in water for 2 minutes. Let the steam linger – it smells amazing and helps lift any leftover grime.
5. The Best Trick of All: Prevention (It’s Not as Annoying as It Sounds)
Let’s be real – cleaning hardened food off the ceiling of a microwave is nobody’s idea of fun. The easiest solution? Stop the mess before it happens.
- Cover your food with a paper towel, microwave-safe plate, or splatter guard.
- Wipe spills right away – fresh ones come off with a single swipe.
- Set a reminder to deep-clean your microwave every 1–2 weeks. Just 5 minutes can save you hours later.
It’s like brushing your teeth – do it regularly and the bigger problems don’t build up.
Bonus Tip: Don’t Forget the Outside
Once the inside is sparkling, give the outside a quick clean too. A damp cloth with a little dish soap works well on handles, buttons, and the top of the unit where dust loves to collect.
If you have a stainless-steel microwave, wipe with the grain to avoid streaks and buff dry with a microfiber cloth. It’ll look brand new.
You’ve Got This (And So Does Your Microwave)
Microwave splatters on the ceiling and door may feel like a losing battle, but they don’t have to be. A little steam, some patience, and a simple wipe-down can bring things back to clean – no scrubbing marathon required.
We all get busy, and sometimes dinner gets explosive. The good news? Your microwave isn’t ruined. With these easy steps, it’s back to clean and ready to heat your next cozy bowl of leftovers – no judgment, no grime.
So go ahead – give your microwave a fresh start. It deserves it. And honestly, so do you.