Let’s be honest – there’s something downright fun about baking tiny treats. Whether you’re planning a party or just looking for a simple afternoon project, mini cupcakes are the kind of dessert that brings smiles before they even hit the plate. But making them just right-light, fluffy, and full of flavor can feel a little trickier than it looks. That’s where this guide comes in.
In this post, I’ll walk you through everything you need to know to make mini cupcakes that bake up beautifully and taste every bit as delightful as they look. We’ll talk ingredients, techniques, creative flavor twists, and smart ways to serve and store them. Whether you’re a weekend baker or just getting started, you’ll find all the friendly, step-by-step help you need right here.
Let’s roll up our sleeves and start baking!
Why You’ll Love These Mini Cupcakes (Plus Chocolate, Vanilla & Red Velvet Ideas)
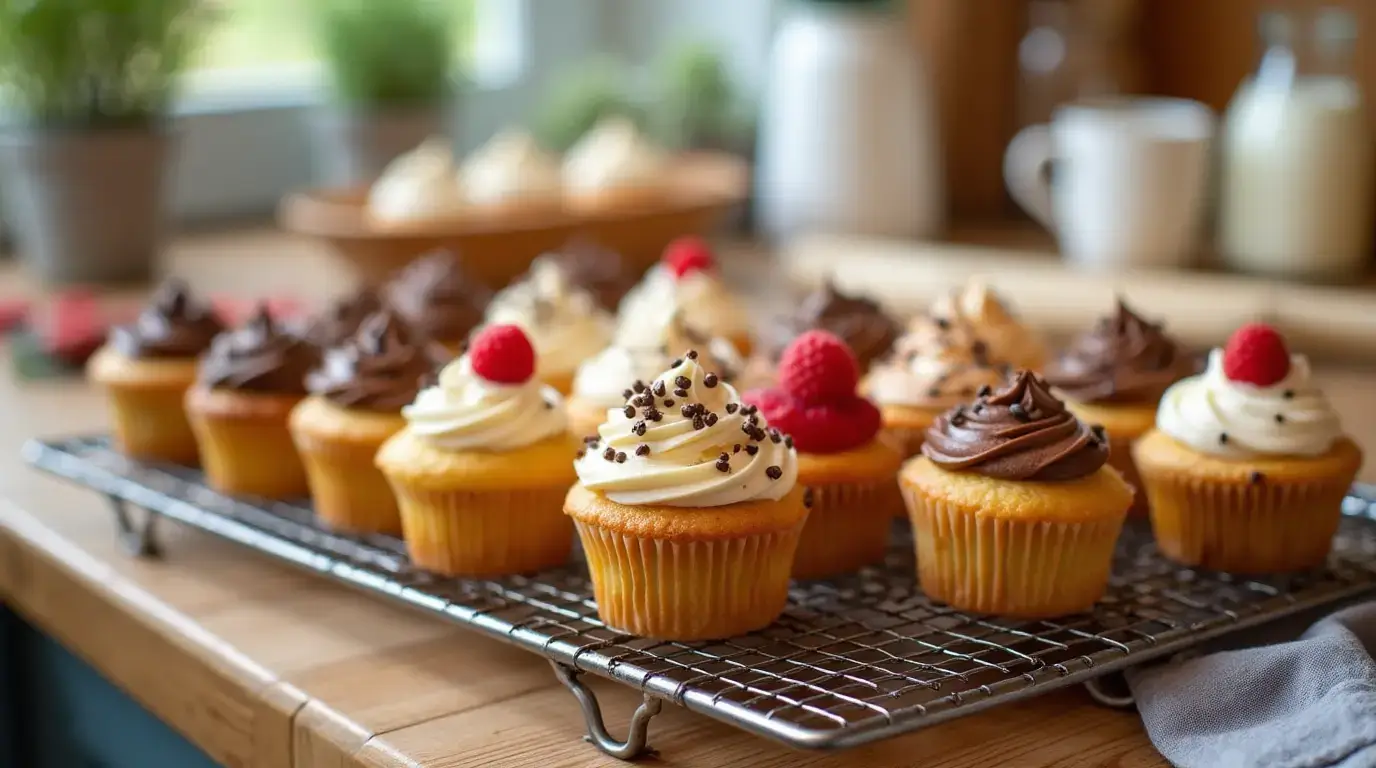
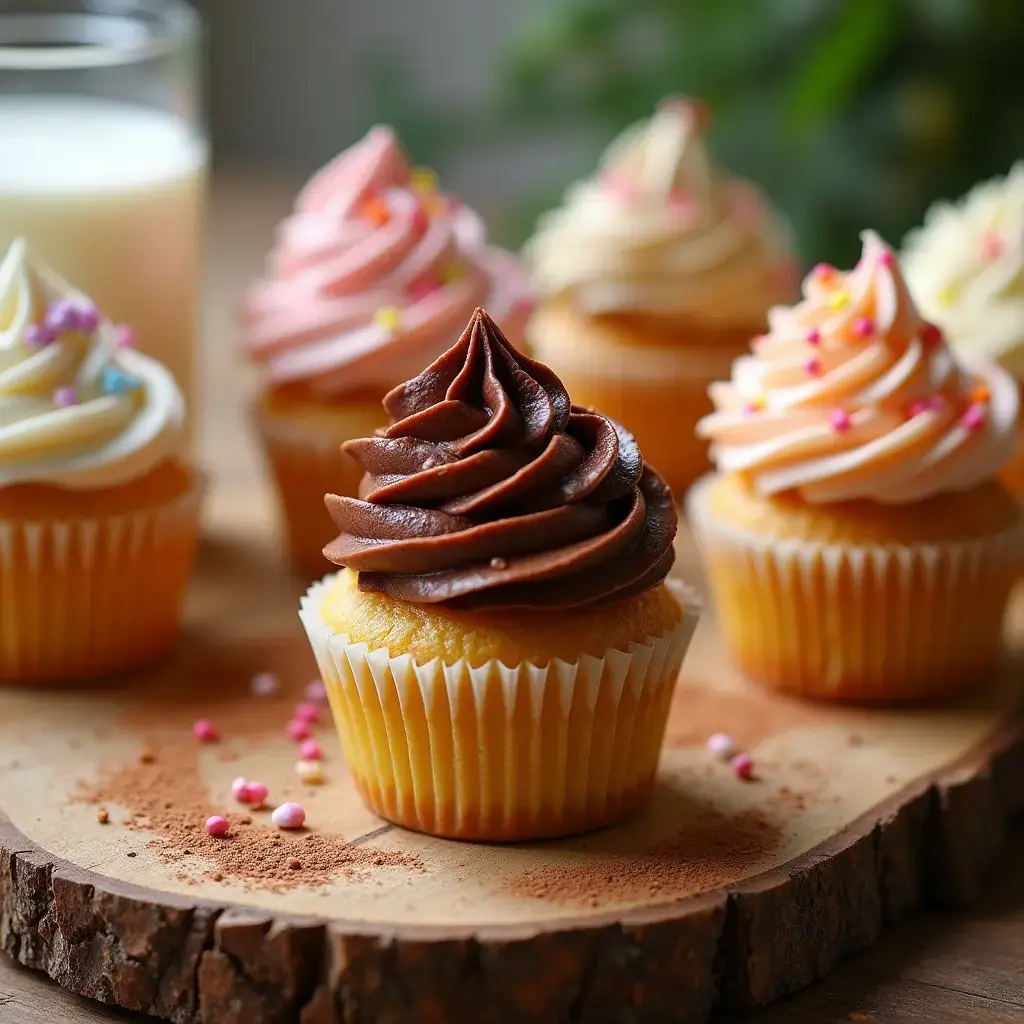
There’s so much to adore about these mini cupcakes. They’re the kind of treat that feels special but comes together easily, making them perfect for any occasion. You can bake a batch of mini chocolate cupcakes for birthdays or dress up mini vanilla cupcakes with sprinkles for a casual get-together.
- Quick to prepare: They bake faster than regular cupcakes, so you can enjoy them sooner.
- Family friendly: Little hands love helping with decorating and taste-testing.
- Endlessly customizable: Swap in cocoa, color them for holidays, or top with your favorite frosting.
- Perfect portions: Just the right size to share or save for later.
Once you try these, you’ll see why they’re a favorite in so many kitchens. Let’s take a look at everything you’ll need to get started!
Mini Cupcakes Ingredients You’ll Need for Every Flavor Twist
Let’s start by gathering everything you’ll need to make a batch of soft, flavorful mini cupcakes. The beauty of this recipe is that it uses simple pantry staples – and a few fun add-ins if you want to switch things up.
Basic Ingredients
- 1 ½ cups all-purpose flour – This forms the base of your cupcakes and gives them structure.
- ¾ cup granulated sugar – Adds just the right amount of sweetness without overpowering.
- 1 ½ teaspoons baking powder – Helps those little cakes puff up with a soft, tender crumb.
- ¼ teaspoon salt – Balances the sweetness and enhances flavor.
- ½ cup unsalted butter, melted and cooled – Adds richness and keeps the texture soft.
- 2 large eggs, room temperature – Hold everything together and add a little lift.
- ½ cup milk (whole or 2%) – Loosens the batter so it bakes up light and even.
- 2 teaspoons vanilla extract – Brings warmth and depth to the flavor.
Optional Add-Ins
Want to dress things up for a party or seasonal celebration? Try one of these easy variations:
- 2 tablespoons cocoa powder – Stir into the batter for quick mini chocolate cupcakes.
- 1 tablespoon red gel food coloring + 1 teaspoon cocoa powder – Perfect for mini red velvet cupcakes.
- Festive sprinkles – Great for mini Christmas cupcakes or mini Halloween cupcakes.
Pro Tip: Try swapping vanilla extract with almond or orange extract for a twist. You can even fold in mini chocolate chips or lemon zest to match different themes or occasions. These tiny cupcakes love a little personality!
Now that your ingredients are lined up, let’s turn that bowl of batter into a tray full of golden, bite-sized treats.
How to Make Mini Cupcakes That Bake Up Soft and Sweet
Baking mini cupcakes is just as fun as eating them, especially when the batter comes together quickly and bakes in a flash. Here’s how to do it, step by step.
1- Preheat and prep your pan.
Set your oven to 350°F (175°C). Line a 24-cup mini muffin tin with paper liners or lightly grease the cups. This makes cleanup a breeze and keeps cupcakes from sticking.
2- Mix the dry ingredients.
Add the flour, sugar, baking powder, and salt to a medium bowl and whisk until everything is evenly blended and smooth. This helps prevent any sneaky lumps from showing up in the batter later on.
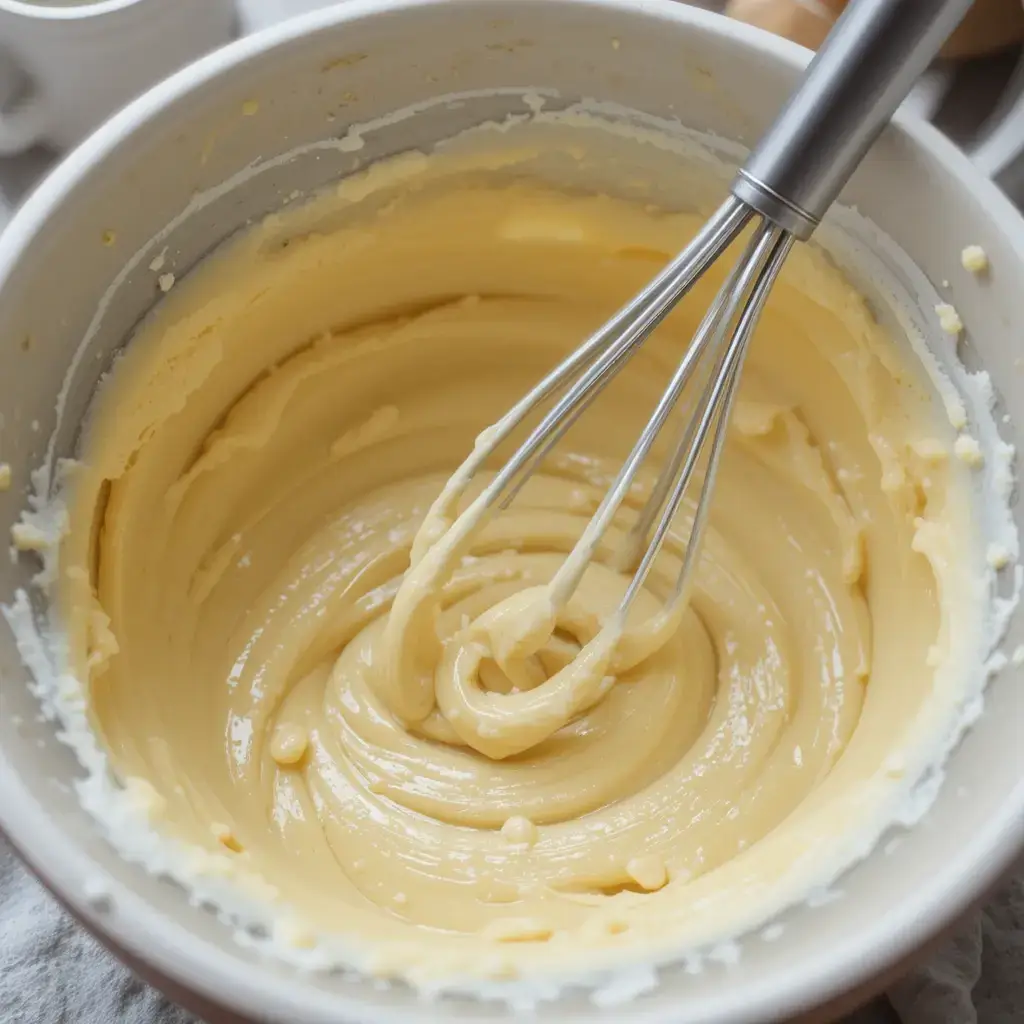
3- Combine the wet ingredients.
In a separate bowl, whisk the melted butter, eggs, milk, and vanilla extract until the mixture looks smooth and creamy.
4- Bring it all together.
Gently pour the wet ingredients over the dry mixture. Stir with a spatula or wooden spoon just until combined – a few small lumps are totally fine. Overmixing can lead to dense cupcakes, so keep it light and easy.
5- Add your flavor twist (if using).
At this point, you can divide the batter and mix in cocoa powder for mini chocolate cupcakes or add food coloring for mini red velvet cupcakes. Fold in any sprinkles or mix-ins now too.
6- Scoop and fill.
Use a small cookie scoop or spoon to fill each mini cupcake liner about ¾ full. This helps them bake evenly with nice, rounded tops.
7- Bake to perfection.
Slide the pan into the oven and bake for 10 to 12 minutes. You’ll know they’re done when the tops spring back lightly to the touch and a toothpick comes out clean. Keep an eye out – they bake fast!
8- Cool before frosting.
Allow the cupcakes to rest in the pan for 5 minutes, then carefully move them to a wire rack to finish cooling. Be sure they’re completely cool before decorating – frosting too soon can cause it to soften or slide off.
If your cupcakes come out a little flat, it might be time to replace your baking powder. And remember: gentle mixing is your best friend here – it keeps the batter light and airy.
These little cupcakes are the kind you can make on a whim and decorate to fit any theme or mood. Once they’re baked and cooled, the real fun begins with frosting and decorating!
Next, let’s talk about some clever ways to make them your own – and how to avoid the most common mini cupcake mistakes.
Mini Cupcake Tips and Easy Flavor Variations to Try
Once you’ve got the basics down, mini cupcakes open up a whole world of fun in the kitchen. These tips and ideas are here to help you get the best results every time – and give you the freedom to play a little along the way.
- Don’t overmix the batter.
Stir just until everything’s combined – the texture stays soft and tender that way. A few little lumps are totally fine. - Use a small cookie scoop for even sizing.
This keeps all your cupcakes the same size so they bake evenly – no tiny burnouts or overflowing giants. - Test your oven with the first batch.
Every oven runs a little differently. Keep a close eye the first time, especially around the 10-minute mark. - Flavor it your way.
- Add cocoa powder to make mini chocolate cupcakes.
- Stir in food coloring and cocoa for mini red velvet cupcakes.
- Or keep it simple and classic with mini vanilla cupcakes.
- Toss in orange zest, almond extract, or a pinch of cinnamon for something cozy and seasonal.
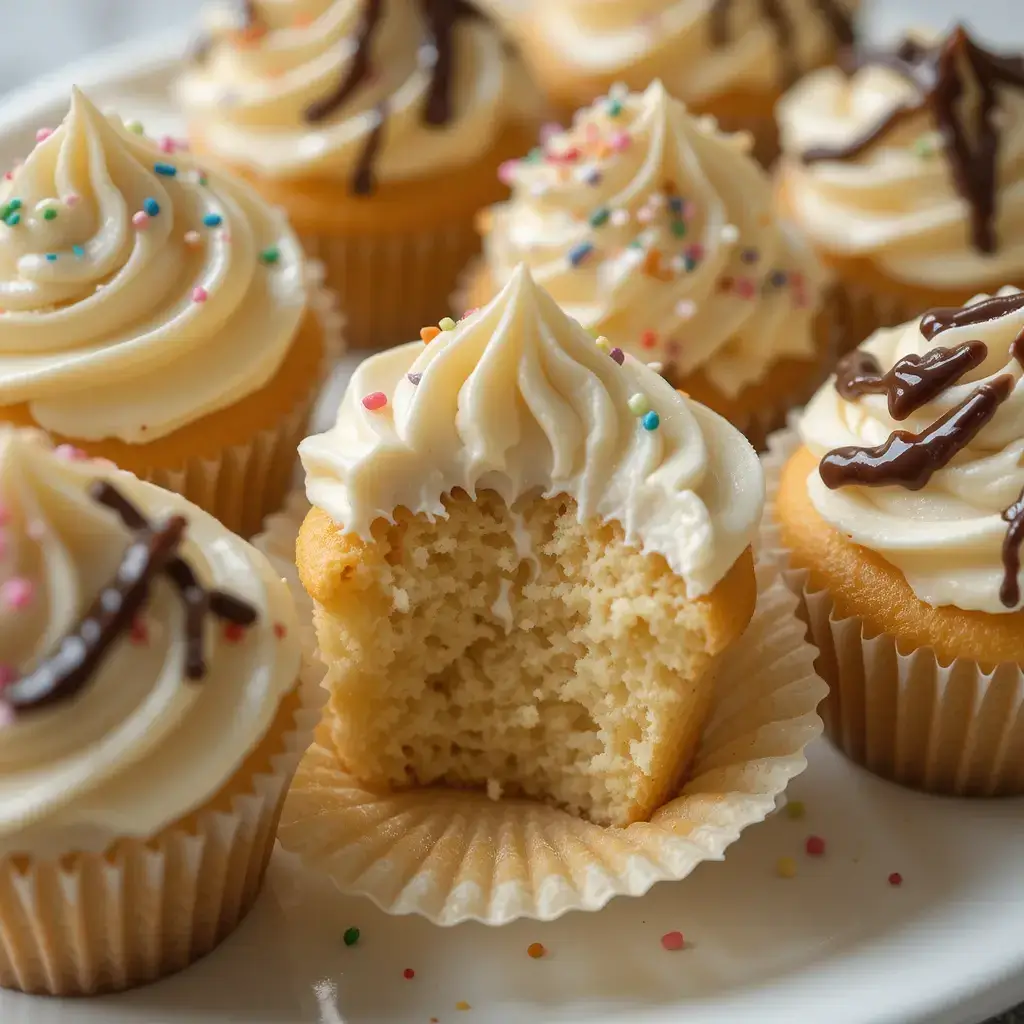
- Decorate by occasion.
Use black and orange sprinkles for mini Halloween cupcakes or crushed peppermint on white frosting for mini Christmas cupcakes. Even a dusting of powdered sugar can look lovely and elegant. - Cool completely before frosting.
Warm cupcakes will melt your frosting – and we definitely want those swirls to stay pretty.
These little baking wins make a big difference. The more you bake them, the more they become your special go-to.
Now let’s talk about the best ways to serve and celebrate them!
Creative Ways to Serve Mini Cupcakes for Any Occasion
There’s no wrong way to enjoy mini cupcakes, but here are a few fun, family-friendly ways to serve them that always get a great reaction, from little hands to grown-up guests.
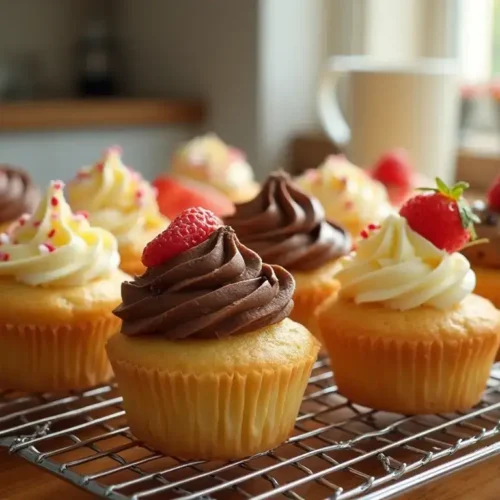
Birthday party trays
Mix and match mini chocolate cupcakes and mini vanilla cupcakes with colorful frosting to match the theme.
Holiday dessert boards
Add mini Christmas cupcakes to a festive spread with cookies, fruit, and candy canes. For Halloween, go spooky with orange frosting and candy eyeballs.
Lunchbox surprises
Tuck one into a lunchbox or picnic basket as a fun treat to brighten the day.
Cupcake towers
Stack them on a tiered dessert stand for baby showers, weddings, or classroom celebrations. They’re easy to grab and never need slicing.
Cupcake decorating stations
Set out plain frosted minis with sprinkles, colored sugars, and piping bags – a great hands-on activity for kids and parties.
Whether you’re making a dozen for home or a few dozen for a party, these serving ideas make them feel even more special.
Let’s make sure your leftovers stay just as fresh and fabulous.
How to Store and Reheat Mini Cupcakes the Easy Way
One of the best things about mini cupcakes is how easy they are to save and enjoy later. With the right storage, they keep their flavor and texture beautifully.
Room temperature (unfrosted):
Keep unfrosted cupcakes in a sealed container for up to 3 days, away from heat and sunlight.
Room temperature (frosted):
If your frosting doesn’t need chilling, you can keep them covered at room temp for about 1–2 days. Just make sure the lid doesn’t touch the tops!
Refrigerator:
Great for frosted cupcakes with butter-based frostings. Store in a covered container for 4–5 days. Let them come to room temp before serving – the flavors and textures really shine that way.
Freezer (unfrosted):
Place cooled cupcakes on a tray to freeze solid, then move to a freezer-safe bag or container. Label and store for up to 2 months. Thaw at room temp before decorating.
Quick warm-up tip:
If your cupcakes feel a little firm from the fridge or freezer, place them on the counter in a sealed container for about 30 minutes. They’ll come back to life, soft and ready for frosting.
Keeping cupcakes fresh is easier than it sounds, and knowing you’ve got a few tucked away always feels like a little gift to your future self.
More Delicious Desserts to Try
Looking for more fun, flavorful treats to bake next? These dessert recipes are just as delightful as mini cupcakes and full of personality:
- Cotton Candy Cake – A colorful cake with playful flair
- Vegan Matcha Cake – Light, earthy, and beautifully green
- Brownie Cupcakes – Fudgy centers with a cupcake twist
- Chocolate Chip Cupcakes – Soft vanilla cakes with melty chocolate bits
- Gender Reveal Cupcakes – A fun surprise hidden inside every bite
Mini Cupcakes That Steal the Show
Equipment
- 24-cup mini muffin tin
- Paper liners or nonstick spray
- Mixing bowls (2)
- Whisk and spatula
- Small cookie scoop or spoon
- Wire cooling rack
Ingredients
- 1 ½ cups all-purpose flour
- ¾ cup granulated sugar
- 1 ½ tsp baking powder
- ¼ tsp salt
- ½ cup unsalted butter melted and cooled
- 2 large eggs room temperature
- ½ cup milk whole or 2%
- 2 tsp vanilla extract
Optional Add-Ins:
- 2 Tbsp cocoa powder for mini chocolate cupcakes
- 1 Tbsp red gel food coloring + 1 tsp cocoa powder for mini red velvet cupcakes
- Sprinkles for mini Christmas cupcakes or mini Halloween cupcakes
Instructions
- Preheat oven to 350°F (175°C) and line mini muffin tin.
- Whisk flour, sugar, baking powder, and salt in one bowl.
- In another bowl, whisk butter, eggs, milk, and vanilla.
- Combine wet and dry ingredients gently – do not overmix.
- Fold in optional cocoa or coloring, if using.
- Fill liners ¾ full and bake 10–12 minutes.
- Let cool in pan 5 minutes, then on rack before frosting.
Notes
Key Takeaways
Here’s a quick recap of what makes these mini cupcakes such a go-to favorite:
- Simple ingredients and easy steps make them perfect for everyday baking
- Ready in under 15 minutes with a soft, tender texture
- Great for parties, lunchboxes, or just a little treat at home
- Easy to customize with flavors like mini chocolate, vanilla, or red velvet
- Store and freeze well for future celebrations or last-minute desserts
Now that you’ve got the basics down, you’re just a batch away from your next favorite dessert moment!
Mini Cupcakes FAQ: Baking Tips, Frosting Ideas & More
How can I keep mini cupcakes from sticking to the liners?
Give your paper liners a light mist of non-stick spray before filling. Since mini cupcakes are so delicate, this simple trick helps them release cleanly without tearing off bits of the cake.
Can I make mini cupcakes if I don’t have a mini muffin pan?
You can use silicone baking cups set on a regular sheet pan in a pinch, but if you plan to make mini vanilla cupcakes or themed batches like mini Halloween cupcakes, investing in a 24-cup mini muffin pan is worth it for consistent shape and even baking.
What should I do if I’m using a dark muffin pan?
Dark pans hold heat more intensely. Start checking your mini cupcakes at the 9-minute mark to prevent the bottoms from over-baking. A gentle press on top – if it springs back – usually means they’re ready.
Which frosting goes best with mini chocolate cupcakes?
A classic vanilla buttercream adds a nice contrast, but if you want to go all in, try a light chocolate frosting or even a swirl of both for a pretty two-tone effect.
Can I make this recipe gluten-free?
Yes! Just use your favorite 1:1 gluten-free baking flour in place of the regular flour. You may want to add an extra tablespoon of milk to keep the batter smooth and scoopable.
Why did my mini cupcakes sink in the middle?
This usually happens from mixing too much or peeking into the oven too early. Stir gently until just combined, and keep that oven door closed until at least 10 minutes in – trust the process!
Conclusion
There’s just something about mini cupcakes that makes a kitchen feel a little more joyful. They’re simple, sweet, and full of charm – the kind of treat that brings people together around the table, no matter the occasion. Whether you went classic with mini vanilla cupcakes or added your spin for a holiday batch, I hope these tiny bites brought a little extra fun to your day.
If you gave this recipe a try, I’d love to hear how it turned out! Leave a quick review below and let me know which variation you made – your feedback truly means the world and helps other home bakers, too.