You know those days when you want to bake something fun, simple, and just plain comforting? That’s exactly what these peanut butter and jelly cookies are all about. They’re like a sweet little throwback to lunchbox days, but with a fresh-from-the-oven twist.
Sometimes cookies feel complicated or messy, but not this batch. You’ll mix everything in one bowl, swirl in your favorite jam, and before you know it, the kitchen smells like home. Whether you’re baking for a quick treat, a school snack, or just because the afternoon needs something cheerful, this recipe fits right in.
In this post, I’ll walk you through every step: what you need, how to make them soft and chewy, fun little variations, and how to keep them fresh. Baking should feel fun, relaxed, and a little bit special – just like this recipe.
Why You’ll Love These Peanut Butter and Jelly Cookies

These peanut butter and jelly cookies are everything you love about a classic sandwich, baked into a warm, crumbly treat you can share any time. They’re simple enough for busy weeknights but special enough to brighten a celebration.
- Family friendly: Kids love swirling their favorite jam into the dough.
- Quick and easy: You only need one bowl and a few pantry staples.
- Customizable: Try different jams or nut butters to make them your own.
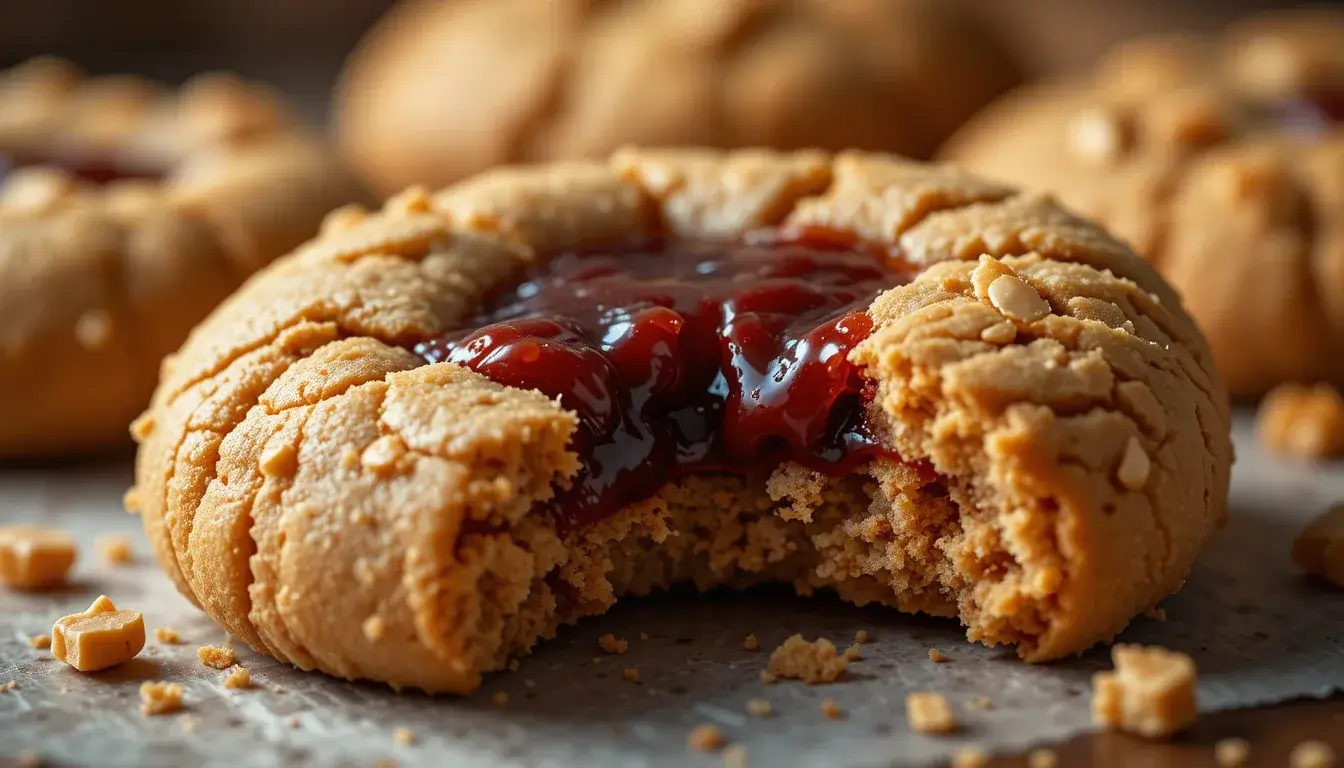
- Soft texture: Each bite has a tender crumb and a sweet jam center.
You’ll find yourself making these again and again. Let’s take a look at the ingredients so you can get started with confidence!
Peanut Butter and Jelly Cookies Ingredients and Add-In Ideas
Here’s everything you’ll need to make these peanut butter and jelly cookies turn out just right. The list is short and sweet – just the basics you likely have on hand, plus a couple of fun extras if you want to take things up a notch. I’ll walk you through each ingredient and why it matters, like I’m standing in the kitchen with you.
Basic Ingredients
- 1 cup creamy peanut butter – The star ingredient that brings all the rich, nutty goodness and smooth texture to every bite.
- ½ cup unsalted butter, softened – Adds just the right amount of moisture and helps create tender, golden-brown cookies.
- ¾ cup light brown sugar – Adds rich sweetness and helps create that soft, chewy center everyone reaches for first.
- ¼ cup granulated sugar – Rounds out the flavor and gives the cookies just the right amount of structure.
- 1 large egg – Holds the dough together and gives a soft finish.
- 1 teaspoon vanilla extract – Adds a cozy aroma and enhances all the flavors in the dough.
- 1⅓ cups all-purpose flour – Just enough to give the cookies shape without making them dry.
- ½ teaspoon baking soda – Gives a gentle lift so the cookies stay soft in the center.
- ¼ teaspoon fine sea salt – Brings out the peanut butter’s flavor and keeps everything in balance.
- ½ cup fruit jelly or jam – This is your “J” in the PB&J! Swirl in your favorite kind – grape, strawberry, raspberry, or even apricot.
Optional Add-Ins
- ¼ cup chopped roasted peanuts – For a little crunch and extra peanut flavor.
- ¼ cup mini chocolate chips – Adds a sweet surprise if you’re craving a PB&J-meets-candy vibe.
Pro Tip: For a fun flavor twist, try using almond butter and raspberry jam for a slightly more elegant take, or swap in a fig spread to give the cookies a hint of old-fashioned charm.
Got everything ready? Great – let’s jump into the step-by-step process and turn these ingredients into cookies that’ll disappear faster than you can bake the next batch.
How to Make Peanut Butter and Jelly Cookies Step by Step

You’re about to make the kind of cookies that everyone remembers. The process is super doable, even if you’ve got little helpers in the kitchen. Here’s how to bring these peanut butter and jelly cookies to life, one cozy step at a time.
1- Preheat and prep.
Preheat your oven to 350°F (175°C) and line two baking sheets with parchment – it makes cleanup a breeze and keeps the cookies baking evenly.
2- Cream the base.
In a large mixing bowl, blend the peanut butter, softened butter, brown sugar, and granulated sugar until the mixture turns light, fluffy, and creamy – this takes about 2 minutes. It should look similar to soft frosting when it’s ready.
3- Add the egg and vanilla.
Crack in the egg and pour in the vanilla. Mix again until everything is fully combined and the dough looks glossy and unified.
4- Add the dry ingredients.
Sprinkle in the flour, baking soda, and salt. Gently mix with a spatula or on low speed just until the flour disappears. The dough will be thick but soft.
5- Swirl in the jelly.
Drop a few spoonfuls of jam or jelly right on top of the dough. Use a butter knife to lightly swirl it through – don’t mix it all the way in! You want pockets and ribbons of jelly, not purple dough.
6- Scoop and chill.
Scoop out dough into tablespoon-sized balls and place them on your prepared baking sheets. Leave a little space between each one. Pop the trays in the fridge for 10 minutes – this short chill keeps the cookies from spreading too much.
7- Bake to perfection.
Bake for 10–12 minutes, or until the edges are just set and the tops look slightly crackled. Don’t wait for the whole cookie to look firm – let them finish baking on the tray after you take them out.
8- Cool and enjoy.
Let the cookies rest on the sheet for about 5 minutes, then move them to a wire rack to cool completely. That’s when the jelly sets into its gooey little swirls and the cookie texture becomes just right.
If the dough feels too soft to handle, especially on warm days, don’t worry – just chill it a little longer until it firms up enough to scoop easily.
There’s something truly special about baking a treat that smells like your childhood but feels brand new. And now that your cookies are cooling on the rack, let’s go over a few tips to help you make the most out of every batch.
Peanut Butter and Jelly Cookie Tips and Easy Variations
Once you’ve got the basics down, it’s time to make these peanut butter and jelly cookies truly your own. This is where the fun begins – small tweaks can make a big difference, and I’ve gathered some of my favorite tips and tricks to help you along the way. Whether you’re baking for a picky eater or just want to experiment, these ideas are here to guide you.
Helpful Tips to Get It Just Right
- Chill the dough (but not too long): A quick 10-minute chill helps the cookies hold their shape without turning flat in the oven. If it chills longer than planned, no worries – just let the dough rest on the counter a few minutes until it’s easy to scoop again.
- Use a cookie scoop for uniform size: This keeps baking times consistent and makes your batch look neat and bakery-ready.
- Don’t overmix the jelly: You want those beautiful swirls to shine! A light hand keeps the jam in little pockets rather than blending into the dough.
- Room temperature butter is key: If it’s too cold, the sugars won’t cream properly. Aim for butter that dents easily when pressed but isn’t melty.
Fun and Flavorful Variations
- Try different nut butters: Almond butter pairs beautifully with raspberry or blackberry jam. Cashew butter? A little milder, but so creamy and delicious.
- Mix up the jam: Grape is a classic, but peach or blueberry jam can give the cookies a fresh twist. Just make sure the jam isn’t too runny.
- Make sandwich-style cookies: Bake smaller rounds and spread jelly between two for peanut butter and jelly sandwich cookies – perfect for parties or lunchbox surprises.
- Add crunch: Fold in chopped peanuts or pretzel bits for a sweet and salty combo.
- Drizzle with melted chocolate: For a more dessert-like presentation, a light chocolate drizzle adds flair and flavor.
These cookies are flexible and forgiving, just like the best family recipes. Now that you’ve got some inspiration, let’s look at when and how to serve them for maximum smiles.
Serving Ideas for Peanut Butter and Jelly Cookies

Whether you’re baking for fun or for a reason, peanut butter and jelly cookies bring joy to just about any occasion. They’re simple enough for a weekday treat but charming enough to show off at special events.
Ways to Serve and Share
- After-school snack: Serve them warm with a glass of milk and watch them disappear in minutes.
- Bake sale favorite: Stack a few in clear treat bags, tie with string, and watch them fly off the table.
- Lunchbox surprise: Slip one into a lunch bag for a mid-day boost that feels homemade and thoughtful.
- Picnic-ready dessert: These cookies travel well and don’t need refrigeration – ideal for outdoor gatherings.
- Cookie tray centerpiece: Add a pop of color and flavor to any dessert spread, especially with swirls of different jams.
These cookies aren’t just for dessert – they’re a little bit of comfort you can enjoy anytime. And when there are a few leftovers (if you’re lucky!), here’s how to keep them just as tasty as the day they were baked.
Storing and Reheating Your Peanut Butter and Jelly Cookies
You’ve baked a batch (or two), and now you want to keep them fresh for later. Good news – peanut butter and jelly cookies store and freeze beautifully, and reheating them is as easy as can be.
Storage Tips
- Room temperature: Keep the cooled cookies in an airtight container for up to 5 days, and add parchment between layers so the jelly doesn’t stick.
- In the freezer: Freeze baked cookies in a single layer until solid, then move to a freezer-safe bag or container. They’ll stay delicious for up to 3 months.
- Freeze the dough: Scoop the dough into balls, place them on a tray to firm up in the freezer, then transfer to a freezer-safe bag. When you’re ready to bake, just pop them in the oven frozen – add 2–3 extra minutes to the baking time.
Reheating Tips
- To warm cookies: Place a cookie on a baking sheet and warm it in a 300°F (150°C) oven for 3–5 minutes. It brings back that just-baked aroma and soft center.
- Microwave shortcut: If you’re in a rush, a quick 10-second microwave zap can do the trick – just keep an eye on it so the jam doesn’t bubble.
There’s something sweet about reaching for a cookie and knowing it’s just as good as when you made it.
More Sweet Treats to Try
If you enjoyed these peanut butter and jelly cookies, here are a few more cozy desserts you might love baking next:
- Chocolate Chip Cookie Recipe Without Brown Sugar – Perfect when you’re low on pantry staples
- Pistachio Muffin Recipe – Light, fluffy, and full of nutty flavor

Easy Peanut Butter and Jelly Cookies Recipe
Equipment
- Mixing bowl
- Electric hand or stand mixer
- Rubber spatula
- Measuring cups and spoons
- baking sheets
- Parchment paper
- Cookie scoop (optional but helpful)
- Wire cooling rack
Ingredients
- 1 cup creamy peanut butter
- ½ cup unsalted butter softened
- ¾ cup light brown sugar
- ¼ cup granulated sugar
- 1 large egg
- 1 tsp vanilla extract
- 1⅓ cups all-purpose flour
- ½ tsp baking soda
- ¼ tsp fine sea salt
- ½ cup fruit jam or jelly grape, strawberry, or your favorite
Optional:
- ¼ cup chopped roasted peanuts
- ¼ cup mini chocolate chips
Instructions
- Preheat oven to 350°F (175°C) and line baking sheets with parchment.
- Beat peanut butter, butter, and both sugars until light and fluffy.
- Mix in the egg and vanilla until smooth.
- Stir in flour, baking soda, and salt until just combined.
- Gently swirl jelly into the dough – don’t fully mix.
- Scoop dough into balls and chill for 10 minutes.
- Bake 10–12 minutes until edges are set.
- Cool 5 minutes on the tray, then move to a wire rack.
Notes
Key Takeaways
- Easy one-bowl dough with simple ingredients
- Soft and chewy texture with swirls of fruity jam
- Fun to make and perfect for kids or gatherings
- Freezer-friendly for baking ahead or saving extras
- Customizable with different jams or nut butters
Now that you’ve got the highlights, let’s answer some common questions before you get baking!
Peanut Butter and Jelly Cookies FAQ: Your Top Questions Answered
Still wondering about a few details? Let’s walk through some common questions that come up when baking peanut butter and jelly cookies. These quick answers will help you feel confident every step of the way.
Can I use natural peanut butter?
Yes, you can! Just choose a brand with minimal oil separation and give it a good stir before using. Keep in mind the cookies may spread a little more, but they’ll still taste great.
What’s the best jam for peanut butter and jelly cookies?
Smooth jams like grape, strawberry, or raspberry work best. If you want a little extra character, try blackberry or peach for a fresh twist.
How can I make these cookies gluten-free?
Swap in a reliable 1-to-1 gluten-free flour blend. Try baking one test cookie first to see if the dough needs any slight adjustments before baking the full batch.
Why are my cookies cracking on top?
A little cracking is totally normal with this kind of dough. If you prefer smoother tops, take the cookies out just as the edges look set and let them finish baking on the pan.
Is it okay to double this peanut butter and jelly cookies recipe?
Absolutely! Go ahead and double the ingredients – just be sure to use a few baking sheets and rotate them halfway through so everything bakes up nice and even.
Can I make these cookies for someone with a peanut allergy?
Since peanut butter is the base of this recipe, it’s best to make a different cookie if you’re baking for someone with a nut allergy. Sunflower seed butter could be an alternative, but always check ingredients and safety first.
You’re all set – now it’s time to grab that jelly jar and turn your kitchen into a sweet-smelling cookie haven!
Conclusion
There’s just something extra special about baking cookies that feel familiar but still bring a little surprise to the table. These peanut butter and jelly cookies are warm, simple, and full of flavor – the kind of treat that makes you want to pour a glass of milk and slow down for a minute.
If you gave this recipe a try, I’d love to hear how it turned out for you. Leave a quick review and let me know what kind of jam you used – or if you added your own twist. Your feedback helps others and brings a little community to the kitchen.