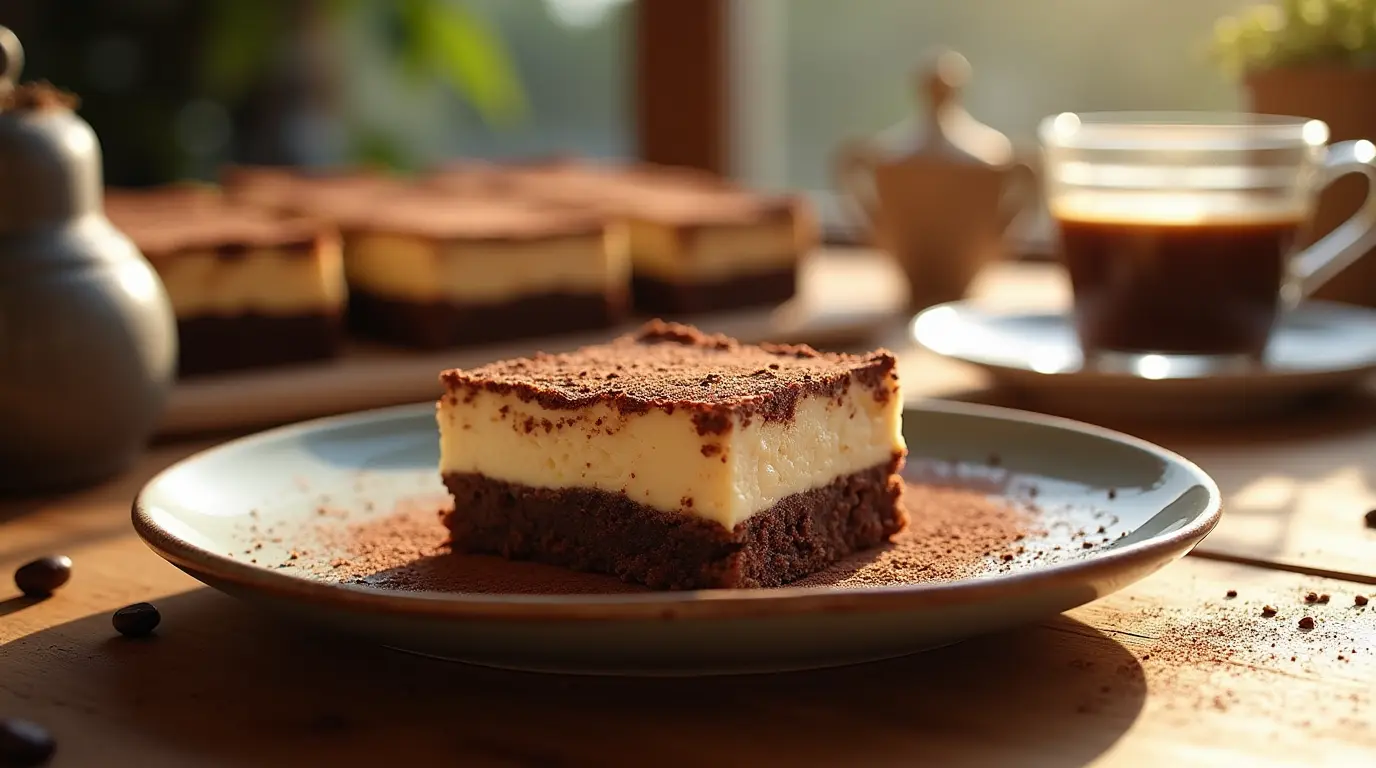
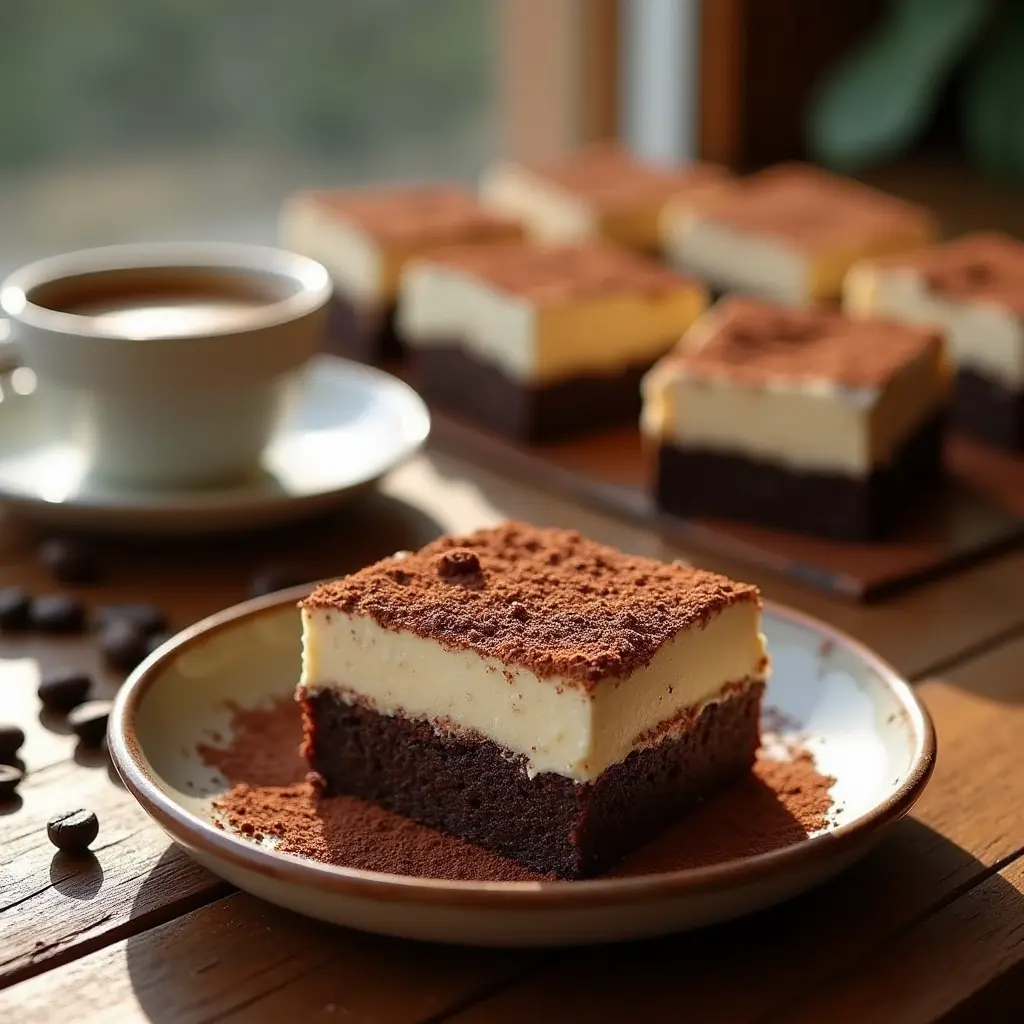
Let me tell you – Tiramisu Brownies are one of those recipes that just feel like a little celebration in every bite. You’ve got the rich, fudgy goodness of a classic brownie and the creamy, coffee-kissed swirl that gives you all the cozy charm of tiramisu. If you’ve ever stood in your kitchen wondering how to bring a little café-style fun into a regular afternoon, this is it.
No fancy steps, no tricky techniques – just simple ingredients, a swirl of something special, and that satisfying moment when the oven fills your home with the smell of chocolate and espresso. In this post, I’ll walk you through everything you need: what you’ll need to grab from the pantry, how to layer the flavors just right, tips to avoid common mistakes, and a few fun ways to serve them up.
Let’s bake something beautiful together – you’re going to love how easy this is.
Why You’ll Love These Tiramisu Brownies
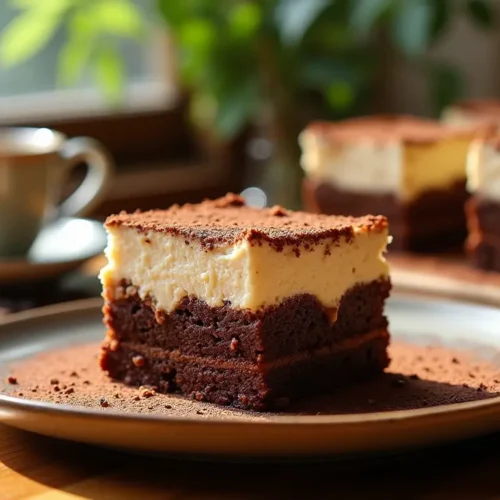
There’s something extra special about Tiramisu Brownies that feels both comforting and a little fancy. They blend the richness of fudgy brownies with a smooth mascarpone layer and a gentle coffee flavor that’s perfect for any occasion.
- Simple to make: No complicated steps – just a few bowls and a swirl of mascarpone.
- Family friendly: Kids and adults alike will look forward to these soft, chocolatey squares.
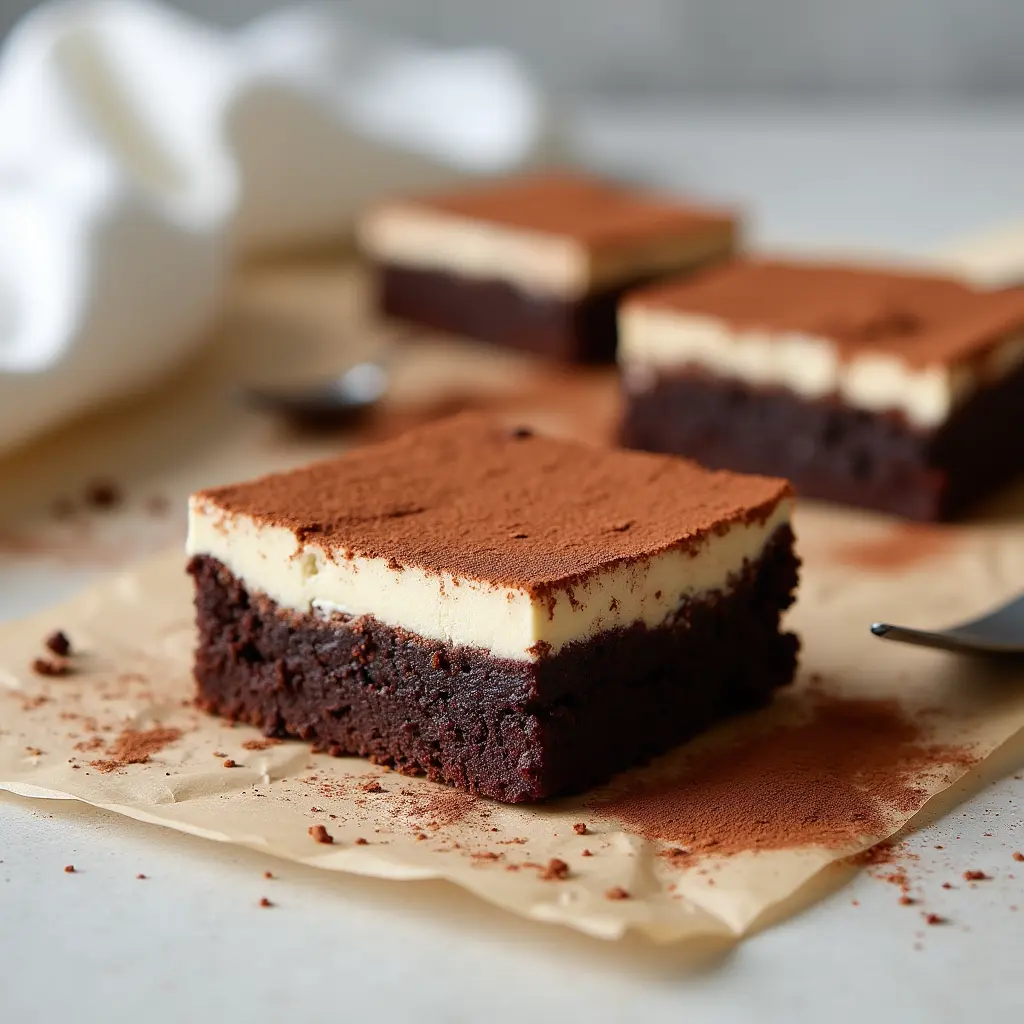
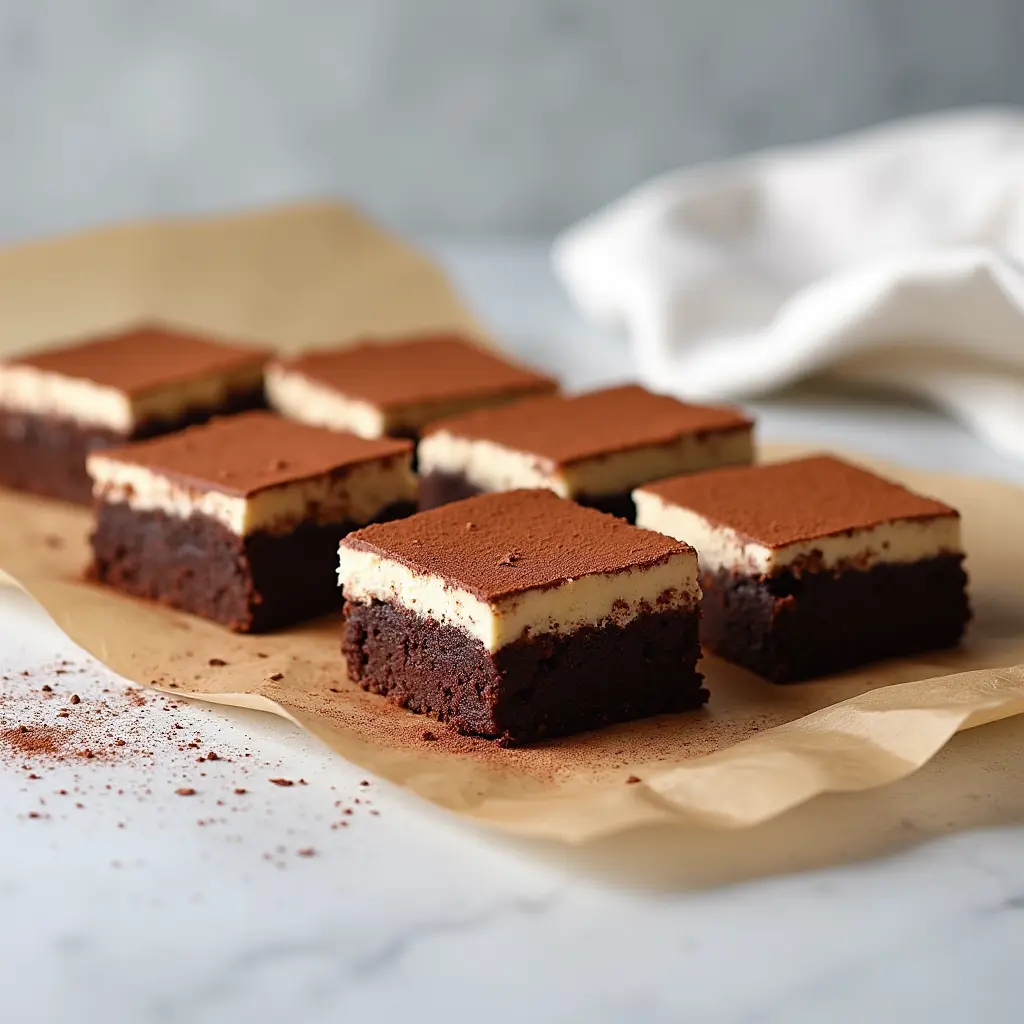
- Beautiful presentation: That dusting of cocoa powder makes every slice look bakery-worthy.
- Customizable: You can adjust the coffee strength or add mini chocolate chips to suit your taste.
These brownies are the kind of treat you’ll want to bake again and again. Let’s peek at what you’ll need to get started!
Tiramisu Brownies Ingredients and Optional Add-Ins
Before we turn on the oven, let’s talk about what goes into these dreamy tiramisu brownies. Nothing fancy or hard to find – just everyday ingredients that come together in the most delicious way. We’re combining a rich brownie base with a creamy swirl that gives you all those classic tiramisu vibes without any complicated steps.
For the Brownie Base:
- 1 cup unsalted butter, melted – Adds richness and keeps the brownie base soft and moist.
- 1 ¼ cups semi-sweet chocolate chips – These melt into the butter to form a deep chocolate base.
- 1 cup granulated sugar – Helps sweeten and gives the brownies that shiny, crackly top.
- ½ cup packed brown sugar – Adds depth and a little extra chewiness.
- 3 large eggs, room temperature – Provide structure and richness.
- 2 teaspoons pure vanilla extract – Brings a warm background flavor that pairs beautifully with the chocolate and espresso.
- 1 cup all-purpose flour – The main dry ingredient that gives the brownies their body.
- ⅓ cup unsweetened cocoa powder – Deepens the chocolate flavor without making it bitter.
- ½ teaspoon fine sea salt – Balances all the sweet notes and intensifies flavor.
For the Mascarpone Swirl:
- 8 oz mascarpone cheese, softened – The creamy, dreamy layer that mimics tiramisu’s signature filling.
- ¼ cup powdered sugar – Sweetens the swirl without making it grainy.
- 1 tablespoon brewed espresso, cooled – Adds that coffee flavor we love in tiramisu.
- 1 large pasteurized egg yolk – Helps the swirl set gently while baking.
Optional Add-Ins:
- 2 tablespoons mini chocolate chips – Stir into the brownie batter for extra texture and chocolate pockets.
- ½ teaspoon espresso powder – Enhances the coffee notes if you want a stronger mocha flavor.
Pro Tip: Want a twist on the classic? For a subtle flavor variation, try adding a dash of cinnamon or a sprinkle of orange zest to the mascarpone mixture. These small touches give the brownies a gentle nod to other traditional desserts from Italian and Mediterranean kitchens.
Now that your ingredients are lined up, let’s make something beautiful together.
How to Make Tiramisu Brownies Step by Step
This is the fun part! These tiramisu brownies come together in just a few steps, and the swirl adds a little creativity without making things complicated. The whole process should feel like something you’d enjoy doing on a cozy afternoon, with a cup of coffee nearby and your favorite playlist in the background.
Step-by-Step Instructions:
1- Preheat and prepare your pan
Start by heating your oven to 350°F (175°C). Line an 8×8-inch baking pan with parchment paper, leaving a bit of overhang so you can lift the brownies out easily later.
2- Melt the butter and chocolate together
In a large microwave-safe bowl, combine the melted butter and chocolate chips. Microwave in 30-second bursts, stirring after each one, until smooth and glossy. Let it cool slightly before moving on.
3- Whisk in the sugars
Stir both the granulated sugar and brown sugar into the melted chocolate mixture until everything blends into a thick, glossy base. This is where the batter starts to take on that rich, velvety texture we’re aiming for.
4- Add the eggs and vanilla
Crack in the eggs one at a time, whisking well after each. Stir in the vanilla extract. The mixture should now look silky and slightly thickened.
5- Fold in the dry ingredients
With a rubber spatula, carefully fold in the flour, cocoa powder, and salt until just combined. Be careful not to overmix – stop once you no longer see streaks of flour. The batter should be rich and thick.
6- Mix up the mascarpone swirl
In a separate bowl, stir together the mascarpone cheese, powdered sugar, brewed espresso, and egg yolk until smooth and creamy. The swirl mixture should be pourable but not runny.
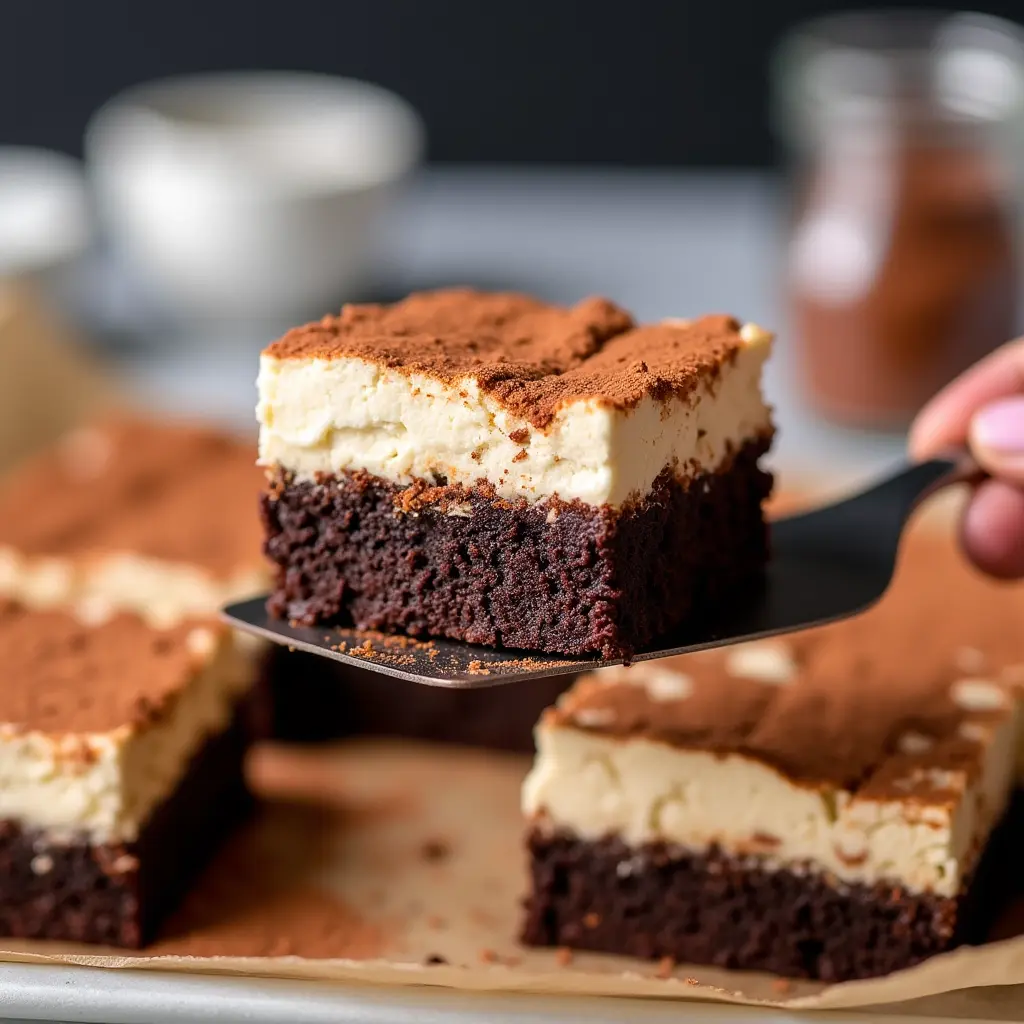
7- Layer and swirl
Scoop roughly two-thirds of the brownie batter into your prepared pan and spread it into an even layer. Spoon the mascarpone mixture in dollops over the top, then add the remaining brownie batter in between. Use a butter knife to gently swirl the layers together – aim for wide figure eights rather than tight zigzags.
8- Bake until set
Slide the pan into the oven and bake for 33 to 36 minutes. They’re ready when the edges are firm and a toothpick poked into the center comes out with a few soft crumbs – no wet batter.
9- Cool completely before slicing
Allow the brownies to rest in the pan on a wire rack until fully cooled. This step is key – cooling helps the mascarpone layer firm up, so you get neat slices and that beautiful marbled effect.
10- Dust and serve
Once cool, dust lightly with unsweetened cocoa powder if you like. Lift the brownies out using the parchment and cut into 16 squares.
Troubleshooting Tip: If your swirl sinks too much or blends into the batter, the mascarpone mixture may have been too loose. Next time, make sure it’s well blended and not too warm.
There’s something truly comforting about slicing into a brownie that smells like a café treat, especially when you made it from scratch. Let’s move on to a few tips and fun twists to make this recipe your own.
Tiramisu Brownies Tips and Easy Variations
Once you’ve got the basics down, these tiramisu brownies become your canvas. Whether you want to make small tweaks, avoid common pitfalls, or give them a flavor twist, this section has you covered.
Tips for Best Results:
- Don’t overmix the batter – Once the flour is folded in, stop stirring. Overmixing can make the brownies dense instead of soft and chewy.
- Create a soft swirl – Use a butter knife, gently dragging it through the mascarpone and brownie layers without going too deep. Aim for a marbled pattern, not full blending.
- Room temperature ingredients work best – This helps everything combine smoothly, especially the mascarpone layer.
Fun Variations to Try:
- Mocha swirl – Add ½ teaspoon espresso powder to the brownie batter to enhance the coffee flavor.
- Chocolate chip surprise – Stir in mini chocolate chips before baking for a little extra indulgence.
- Nutty twist – Fold in ½ cup chopped walnuts or hazelnuts to the batter for crunch and depth.
- Holiday touch – Sprinkle cinnamon or a tiny pinch of nutmeg into the mascarpone swirl for a seasonal feel.
- Inspired by tiramisu brownies Kitchen by the Sea – Top with a dusting of cocoa powder and finish with shaved chocolate for that bakery-style look.
Little adjustments like these can make each batch feel new, perfect if you’re baking for different events or tastes.
Now that you’ve got the inside scoop, let’s talk about how to serve these dreamy squares in style.
Serving Ideas for Your Tiramisu Brownies
The beauty of tiramisu brownies is that they fit just about any moment, from casual afternoons to cozy get-togethers. Here’s how to make your brownies shine no matter the setting.
- Afternoon pick-me-up – Pair a brownie square with your favorite coffee or iced latte. It’s a little café break, right in your kitchen.
- Brunch table favorite – Cut them into bite-sized bars and serve on a tray with fresh fruit and mini muffins for a sweet touch to your brunch spread.
- Easy dessert platter – Plate them with fresh berries and a swirl of vanilla bean ice cream for a lovely dessert that looks and tastes special.
- Lunchbox treat – Wrap individual squares in parchment and tuck them into lunchboxes for a surprise that’s sure to be appreciated.
- Holiday trays – Add them to your holiday cookie spread – they’re always one of the first to disappear.
- Special occasions – Layer a few brownie squares on a cake stand, sprinkle cocoa powder on top, and you’ve got a pretty display for birthdays or potlucks.
They’re as flexible as they are flavorful, and always a hit, whether you serve them warm with coffee or chilled from the fridge.
But what if you don’t eat them all in one sitting? Let’s make sure those leftovers stay just as delicious.
How to Store and Reheat Tiramisu Brownies
Good news – tiramisu brownies store beautifully and keep their flavor and texture long after the baking is done. Here’s how to store, chill, and reheat like a pro so your last piece tastes just as good as the first.
How to Store:
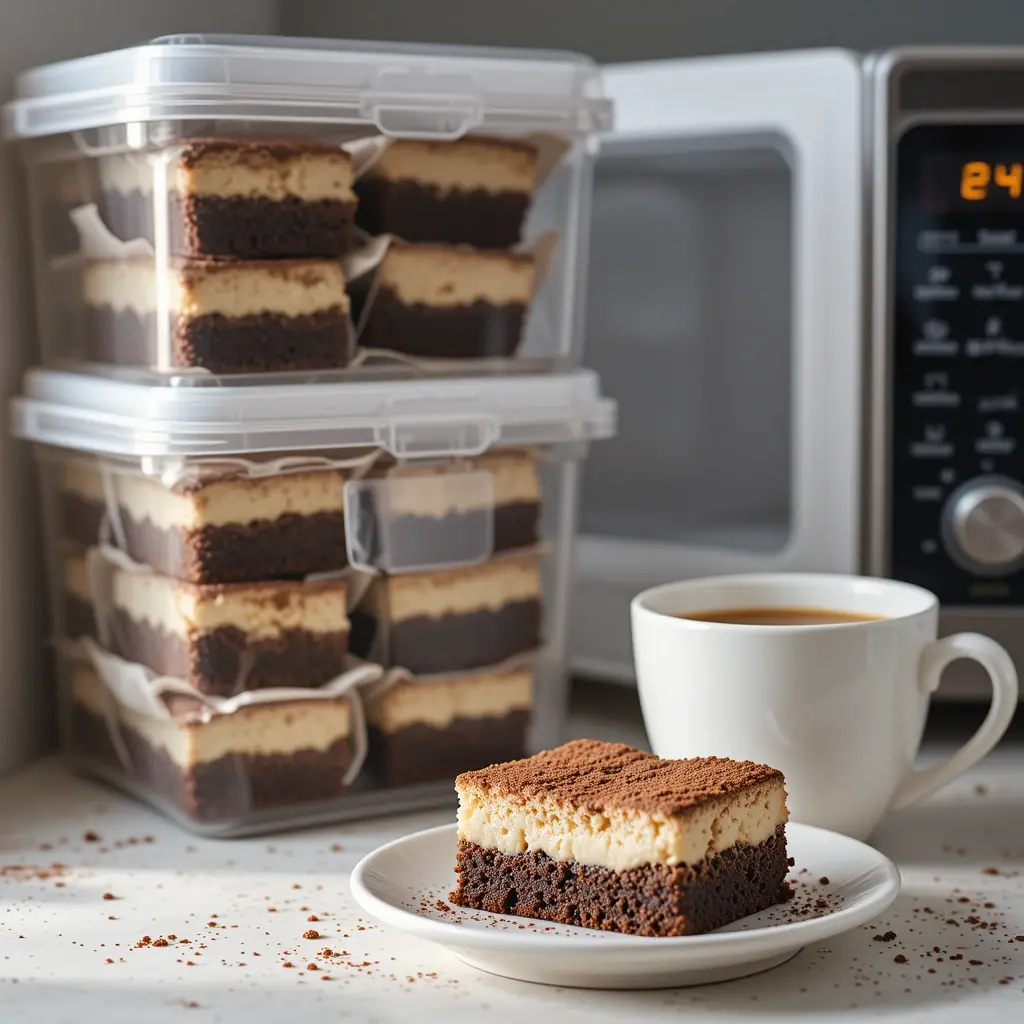
- At room temperature – Keep brownies in an airtight container for up to 2 days. Choose a cool, dry area in your kitchen, away from heat or sunlight.
- In the fridge – For longer freshness, refrigerate brownies in a sealed container for up to 5 days. The mascarpone swirl sets even more, making clean slices easy.
Freezing Instructions:
- Freeze individually – Wrap each brownie square tightly in plastic wrap, then place in a zip-top freezer bag. Store for up to 2 months.
- Thawing – When ready to eat, move them to the fridge or counter and let them come to room temperature. No need to unwrap while thawing – this prevents condensation from making them sticky.
How to Reheat:
- Microwave – Warm a square for 10–12 seconds for a soft, just-baked texture.
- Toaster oven – Place on parchment and heat at 300°F (150°C) for 3–4 minutes to gently warm without drying out.
- Straight from fridge – Honestly? These brownies taste amazing chilled too. That fudgy base and creamy swirl stay perfectly intact.
Treat your leftovers right, and they’ll be ready to impress whenever the craving hits again.
More Tiramisu-Inspired Desserts to Try
If you’re a fan of these Tiramisu Brownies, you’ll love exploring even more ways to enjoy that classic flavor with a twist:
- Limoncello Tiramisu – A citrusy version with fresh lemon flavor in every layer.
- Tiramisu Latte – Creamy, coffeehouse-style comfort in a cup.
- Matcha Tiramisu – A beautiful blend of earthy matcha and smooth mascarpone.
- Tiramisu Cups – Perfectly portioned and easy to serve at gatherings.
- Pistachio Tiramisu – A nutty twist on the classic that’s great for special occasions.
Tiramisu Brownies
Equipment
- 8×8-inch square baking pan
- Parchment paper
- Microwave-safe mixing bowl
- Small mixing bowl (for mascarpone swirl)
- Whisk and spatula
- Butter knife or skewer (for swirling)
- Wire rack (for cooling)
Ingredients
Brownie Batter:
- 1 cup unsalted butter melted
- 1 ¼ cups semi-sweet chocolate chips
- 1 cup granulated sugar
- ½ cup packed brown sugar
- 3 large eggs
- 2 tsp pure vanilla extract
- 1 cup all-purpose flour
- ⅓ cup unsweetened cocoa powder
- ½ tsp fine sea salt
Mascarpone Swirl:
- 8 oz mascarpone cheese softened
- ¼ cup powdered sugar
- 1 tbsp brewed espresso cooled
- 1 large pasteurized egg yolk
Optional Add-Ins:
- 2 tbsp mini chocolate chips
- ½ tsp espresso powder for stronger coffee flavor
Instructions
- Preheat oven to 350°F (175°C). Line baking pan with parchment.
- Melt butter and chocolate chips together; stir until smooth.
- Whisk in both sugars until well combined.
- Add eggs one at a time, then stir in vanilla.
- Fold in flour, cocoa powder, and salt.
- In another bowl, mix mascarpone, powdered sugar, espresso, and egg yolk until smooth.
- Pour ⅔ of brownie batter into pan. Dollop mascarpone mix on top, then spoon remaining batter.
- Swirl gently with a butter knife.
- Bake for 33–36 minutes, until the center is set and edges pull away slightly.
- Cool completely before slicing. Dust with cocoa powder if desired.
Notes
Key Takeaways
- Tiramisu Brownies combine rich chocolate and creamy espresso layers.
- Simple to make with everyday ingredients and one pan.
- Mascarpone swirl adds a smooth, coffee-inspired touch.
- Great for parties, snacks, or cozy evenings at home.
- Easy to store, freeze, and enjoy later.
- Flexible recipe with fun ways to customize each batch.
Let’s wrap things up with a few helpful FAQs before you head to the kitchen!
Tiramisu Brownies FAQ: Common Questions Answered
Can I make a larger batch of this tiramisu brownies recipe for a 9 × 13-inch pan?
Yes! Just double all the ingredients, follow the same steps, and pour the batter into a greased or parchment-lined 9 × 13-inch pan. Bake for 35 to 38 minutes, and start checking around the 33-minute mark. You’re looking for set edges and a center that’s soft but not gooey.
Why did my mascarpone swirl sink into the brownies?
This usually happens when the swirl mixture is too loose. Make sure the mascarpone is soft (not overly warm), and that your egg yolk is well blended. You want the mixture thick enough to stay on top while swirling.
Is there a way to make this recipe for tiramisu brownies without dairy?
Yes! You can swap the butter with plant-based sticks and use a dairy-free cream cheese alternative, like a thick coconut-based one, in place of mascarpone. The texture and taste will shift a little, but the results are still delicious.
Can I use a boxed brownie mix instead of making the batter from scratch?
Absolutely. Choose a chocolate boxed mix you love, bake it as directed, then prepare the mascarpone swirl and follow the same layering and baking process. It’s a great option when time is tight.
How is this tiramisu brownie recipe different from traditional versions?
Classic tiramisu usually includes ladyfingers and a coffee soak with liqueur. This version is baked like brownies, with a creamy mascarpone swirl and brewed espresso for that familiar flavor, just made simpler and more approachable for home baking.
Do I need fancy coffee tools to make these tiramisu brownies?
Nope! Strong instant espresso stirred into a tablespoon of hot water works just fine. You don’t need a machine – just enough coffee flavor to make that swirl sing.
Conclusion
There’s something special about a dessert that brings together the comfort of brownies and the charm of tiramisu – all in one pan. Tiramisu brownies are simple to make, full of rich flavor, and always a treat to share (or tuck away for yourself). Whether you’re baking for a crowd or just because it’s a cozy kind of day, these little squares bring joy to any table.
If you give this recipe a try, I’d love to hear how it went! Share your thoughts in the comments below – your feedback helps others and makes this little baking community feel even more connected.
Happy baking!